Can You Use Big Tiles in A Small Bathroom? We Did!
This post is all about big tiles in a small bathroom.
I think it’s an old house thing but holy cow, our primary bathroom is so tiny compared to more recently built houses. Everyone (perhaps a gross generalization) wants a big primary bathroom with room for a shower and a tub and an area to dance around and dream, right?
Yeah, so… our 1978 built home was not designed by a daydreaming, spa-going woman… it is small and utilitarian. I plan on living in our home for the rest of our lives but I’d be lying if I said I wasn’t a little worried about falling into the toilet as I get into the bath/shower once I’m older and a little more wobbly.
Moving on… when we had to entirely gut our primary bathroom (along with the rest of the house) after finding we had both tiny tiny pinhole leaks in our shower plumbing AND hidden past water damage from previous owners you won’t believe what we found…. gah!
This site contains affiliate links
How the Bathroom Looked Before
I don’t have any good pics of our bathroom from before. It was so non-descript that there weren’t even on the MLS listing when we bought it. It was also weird… divided by an unnecessary door frame in the middle where I guess a door was so one person could be teeth brushing while the other was teeth brushing in their own little sink, showering, and going pee.
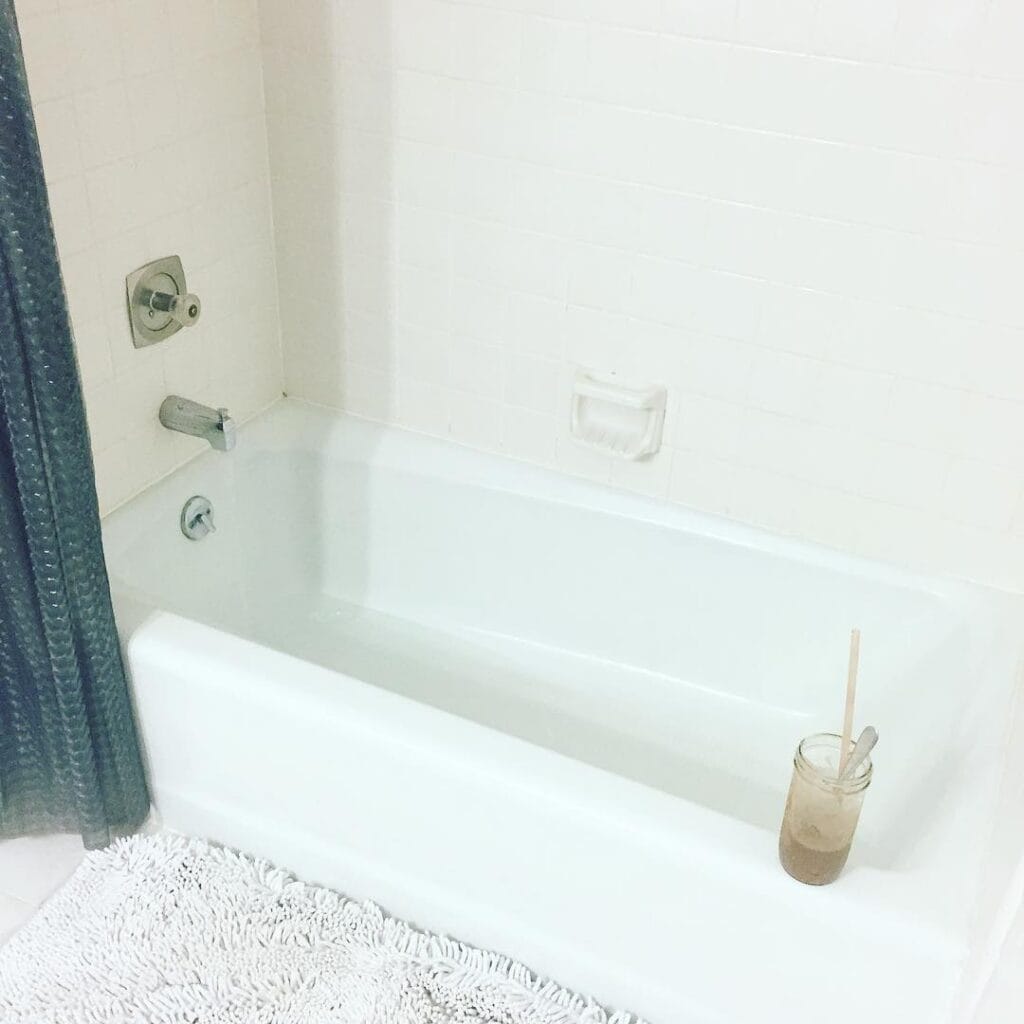
Rare pic I have of our bathroom when we bought the home- before finding mold and gutting it. You can see that there was no mold visible. Why would we think that behind the faucet there was a leak going behind the wall or that the toilet must have leaked for past owners and caused the floor to rot out?
Our Tile Before
Ok, I found one more pre-gut bathroom pic and it looks so crazy. I had been trying to clean the tile grout with baking soda and peroxide (you can see the toothbrush on the floor) and so the floor looks so weird and gross but really it was just a standard dirty grout situation but again, no mold or noticeable cracks (although, knowing what I know now I would have checked a lot more and been a crazy woman if I found a weak point in the grout (actually should. have been silicone used).
You can see from the before pics that our tile situation was a combo of medium-sized tiles on the floor and then subway tiles in the shower. Based on what we found when the floor tiles were taken up I think that the floor tiles were definitely original and the shower tiles were re-done when the owners before us bought the home as a foreclosure and remodeled (but didn’t remediate properly). Have I mentioned that we had zero ideas our home had been a foreclosure in the past and only learned that when we found the mold and I contacted the previous owners to ask about the home’s history (you don’t just have a beautiful home that’s actually full of mold with no back story that makes things make sense). You can read our full mold story here.
What We Found When The Tile Was Removed!
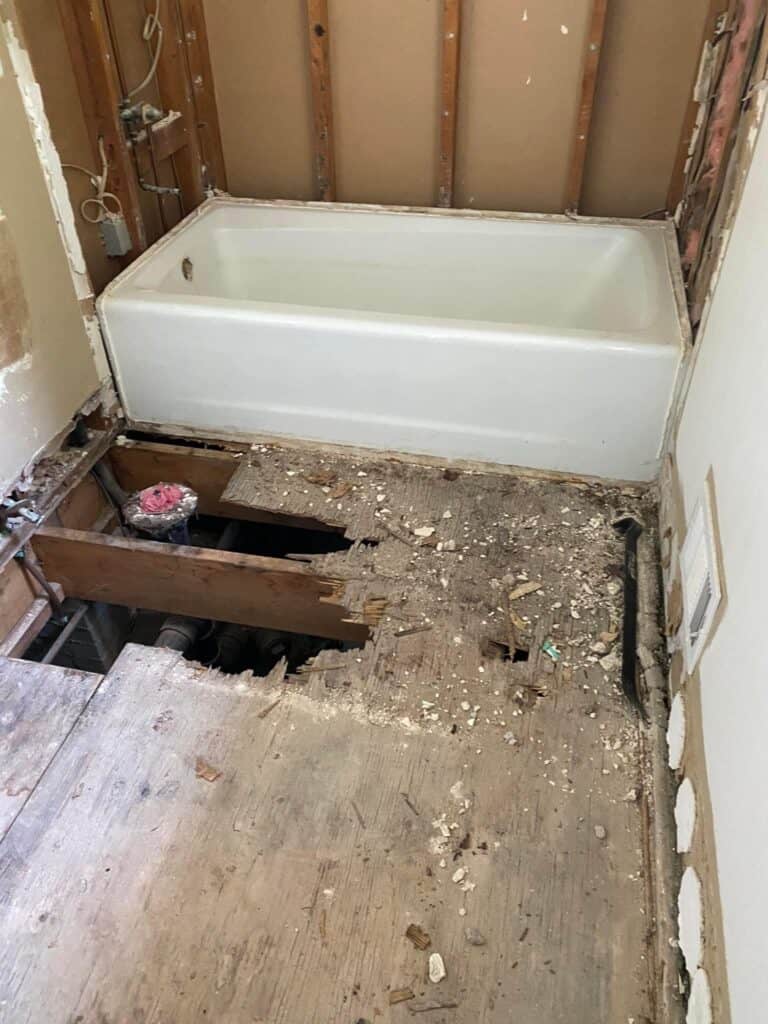
Say what???? That giant hole is where our toilet sat!!!! Meaning, our toilet was being held up by that wooden brace and the tile! Gag. This my friends is why you have to do bathroom flooring right… you’ve got to use the right waterproofing (Schluter systems) and you can’t just use peel-and-stick tile to cover over signs of damage- you might be making things pretty but it’s not making them better.
Next Steps: Pre Big Tile In Small Bathroom Install
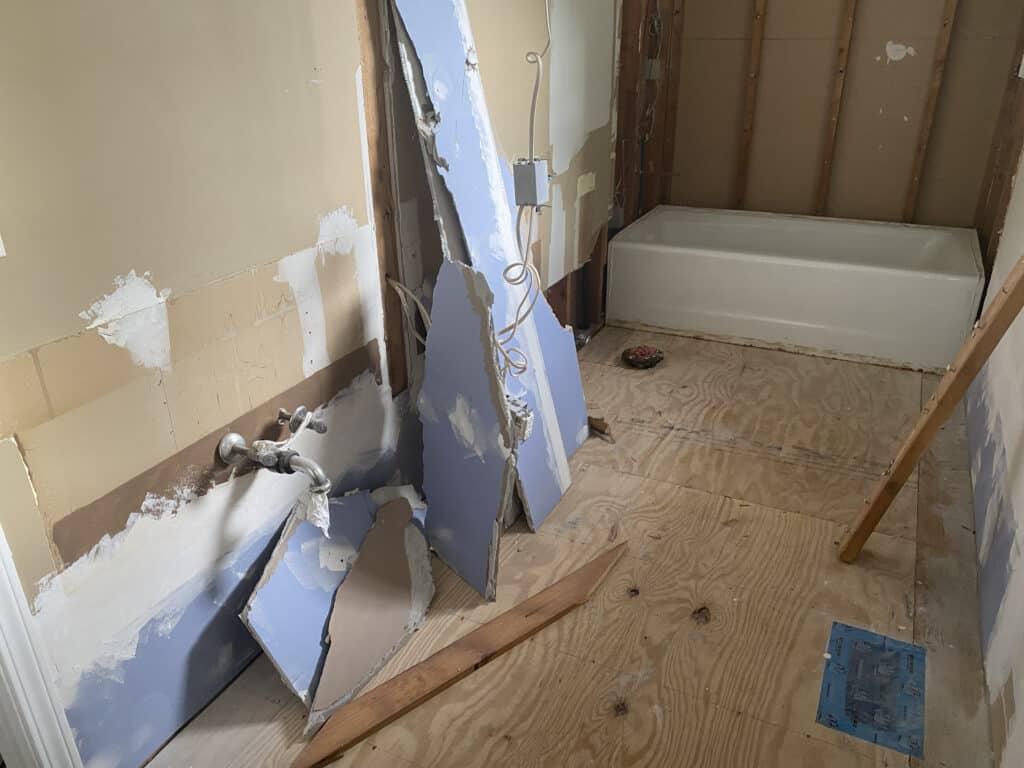
You can see here that that weird doorway and half wall I mentioned was taken down. You can also see that there’s blue drywall pieces leaning on the wall…
Our remediator had put that up over the shower and we took it down after our own research and learning that Schluter systems and not just moisture-rated drywall was what should be used behind showers… goodness gracious… the amount of research we have had to do in this gut and re-build.
I have learned that you can never truly 100% trust any contractor. They aren’t always up on what is standard, code, or best. You must learn that for yourself and think outside the box a little. Our remediators did a good job remediating but their specialty is not tiling/remodeling.
But… woohoo- the hole where the toilet goes is now covered!
Choosing Tile for Our Small Master Bathroom
By this point in the process, I am understandably traumatized by the idea of ever dealing with mold again. By this time my son has a horrible brain inflammation disease (PANS/PANDAS), we’ve had to throw away 80% of our belongings, we are broke as a joke, our home is gutted and unlivable…
I LOVE LOVE LOVE the look of penny tile or anything that is retro/vintage inspired. HOWEVER, small tiles equal enormous opportunity for cracks, water intrusion, and maintenance and what I needed during this moment was less grout, less opportunity for water intrusion/mold, and very low maintenance.
Because of these factors, and a lot of research, I decided that what I wanted was:
- 1. Porcelain Tile: It is the most waterproof tile- not porous and dries quickly (ceramic and natural stone hold humidity and moisture for much longer and are far more porous). Porcelain is also very very hard (believe me, I’ve spent hours drilling holes for shower rods and towel bars) so that was less to worry about since all 7 of us would be sharing this one bathroom for a long time.
- 2. Large Format Tile: Big tile means less grout lines to maintain and worry about.
- 3. Schluter waterproofing under all tile: I mentioned this before but Schluter is a must when tiling a bathroom. We have it surrounding our whole shower and under our floors. I even asked for it to be taken up the walls a little just in case the bathroom ever flooded.
What Big Tile We Chose For Our Small Bathroom
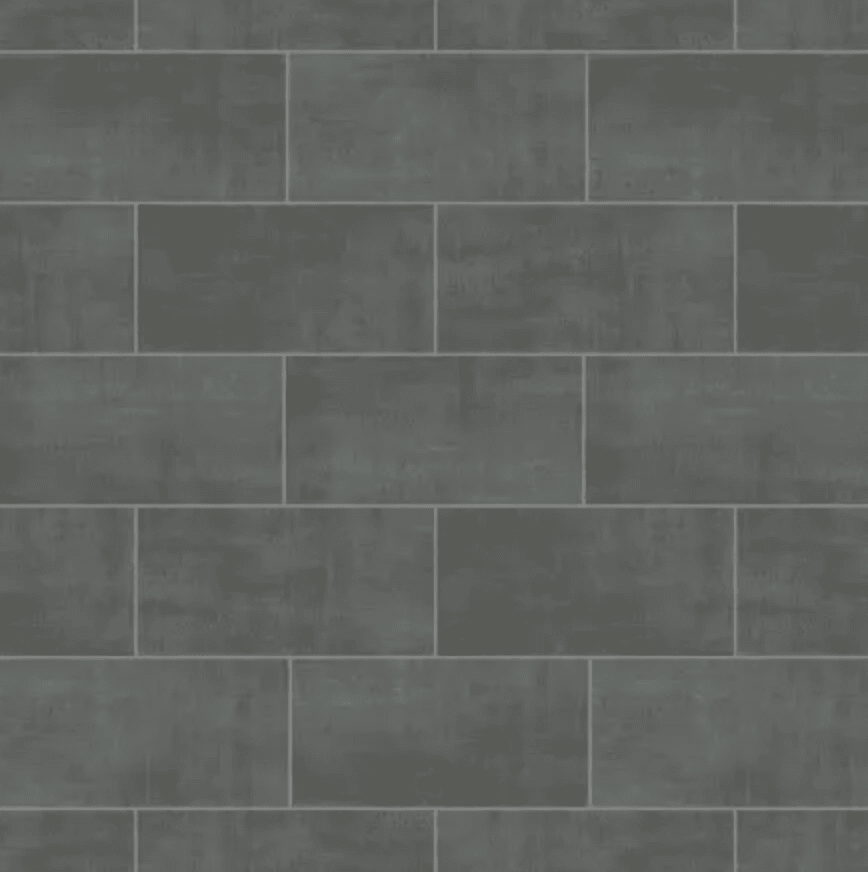
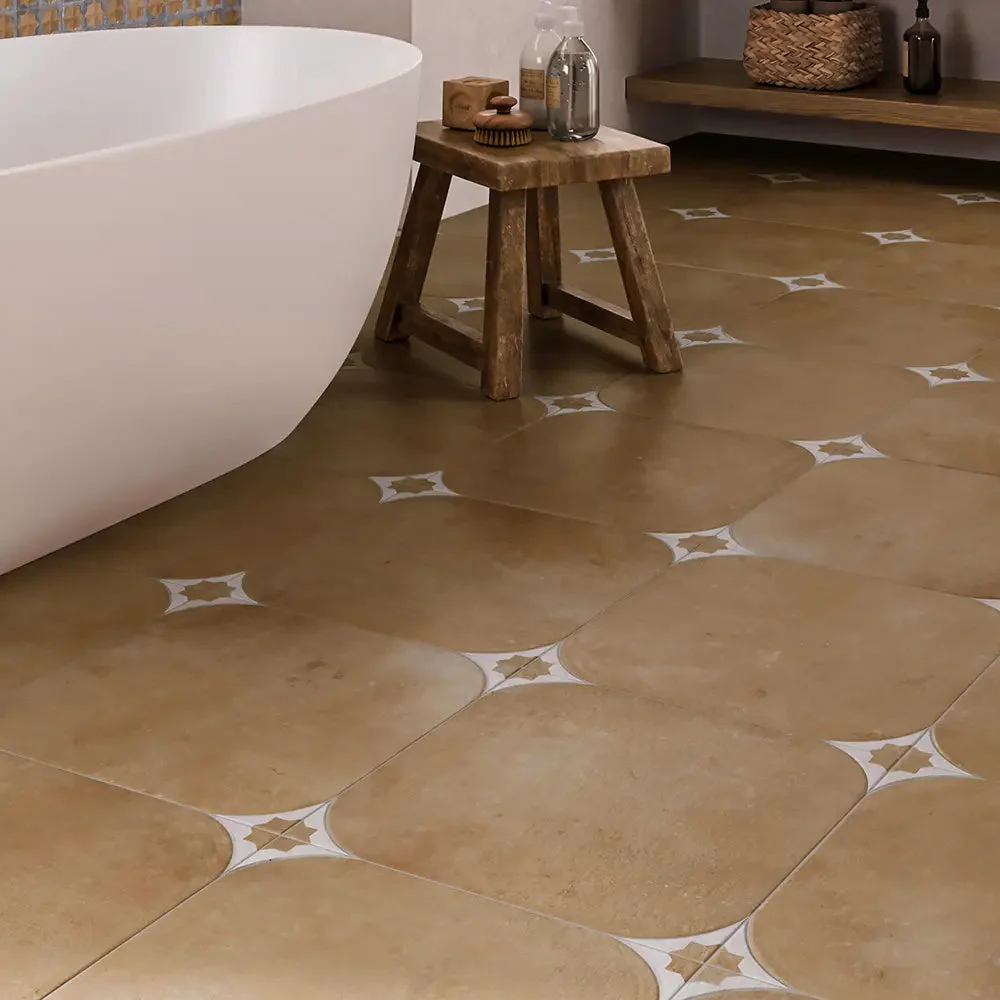
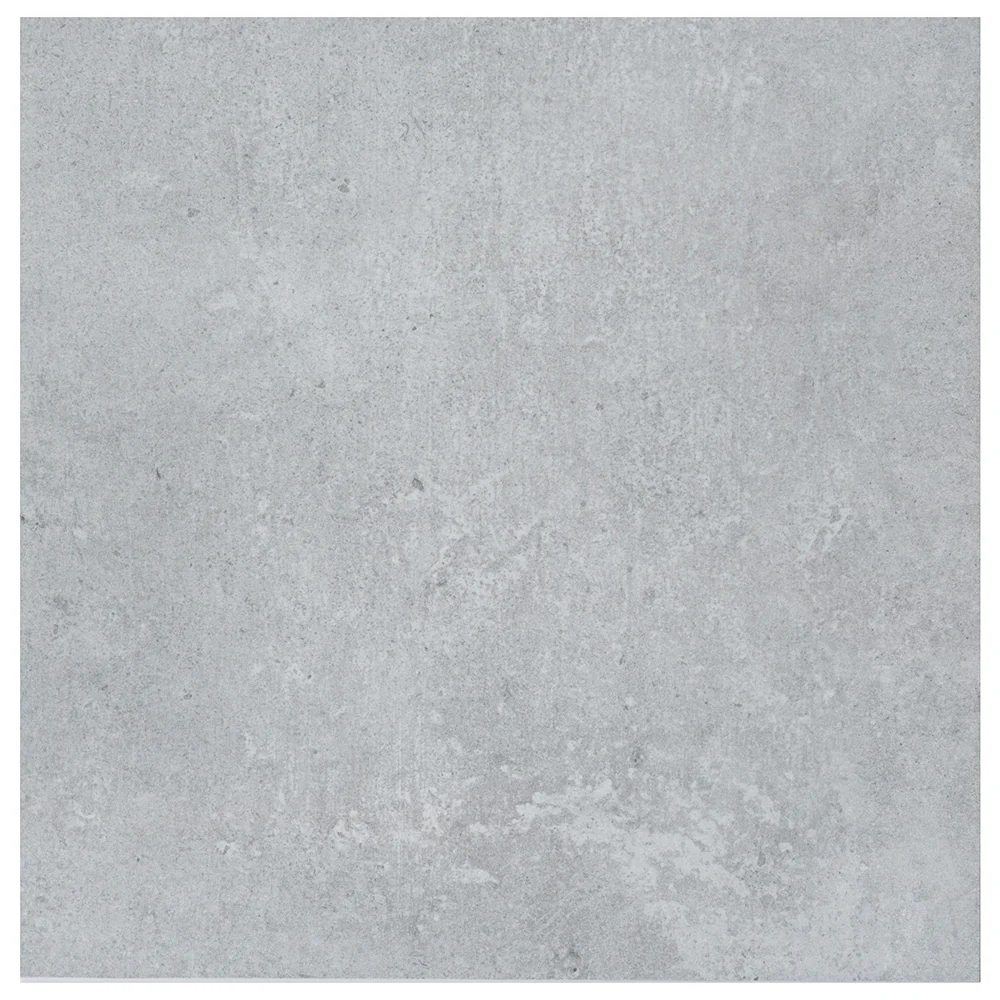
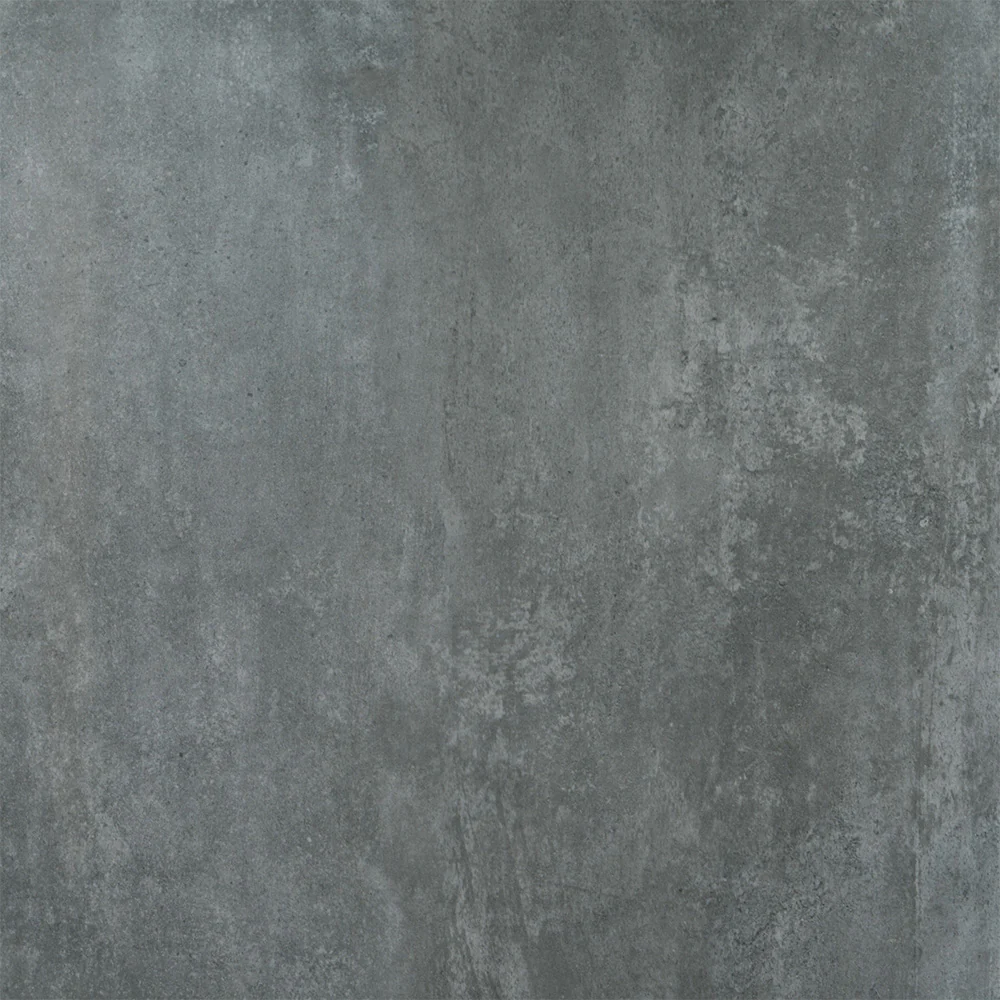
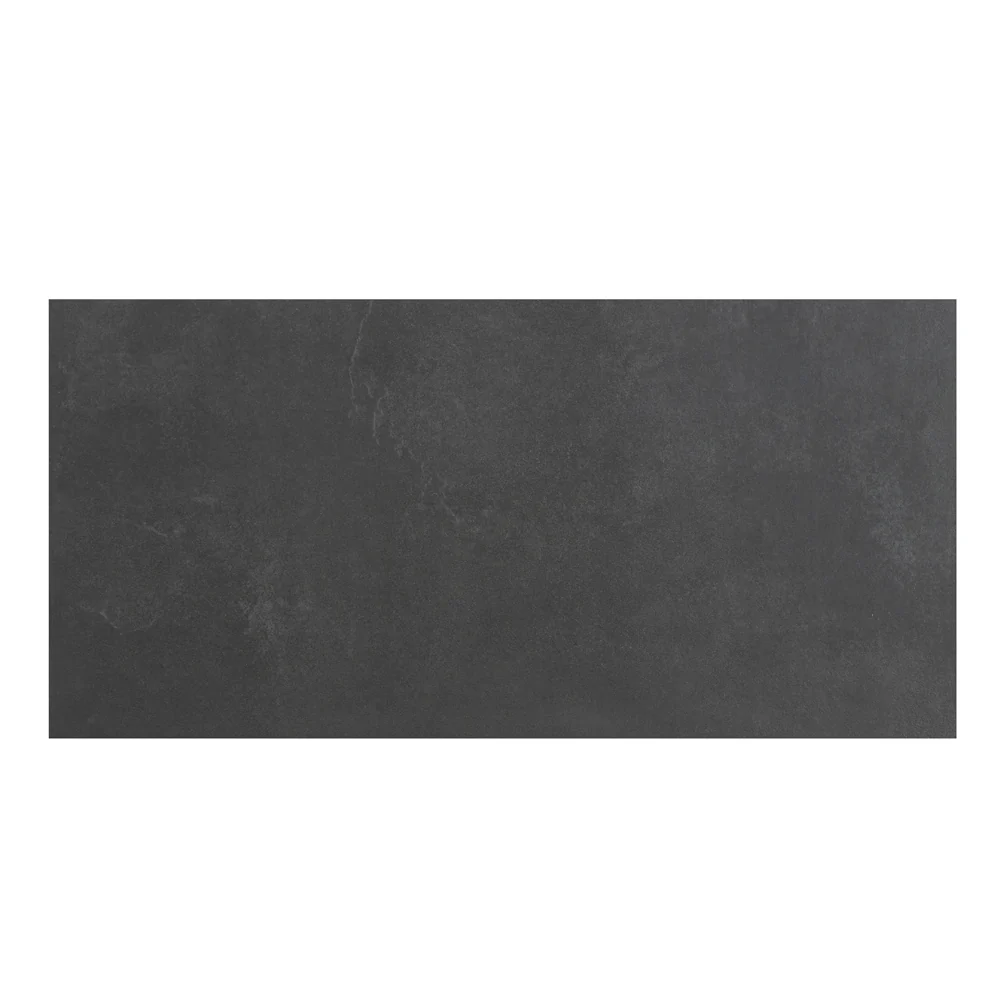
Floor Tile
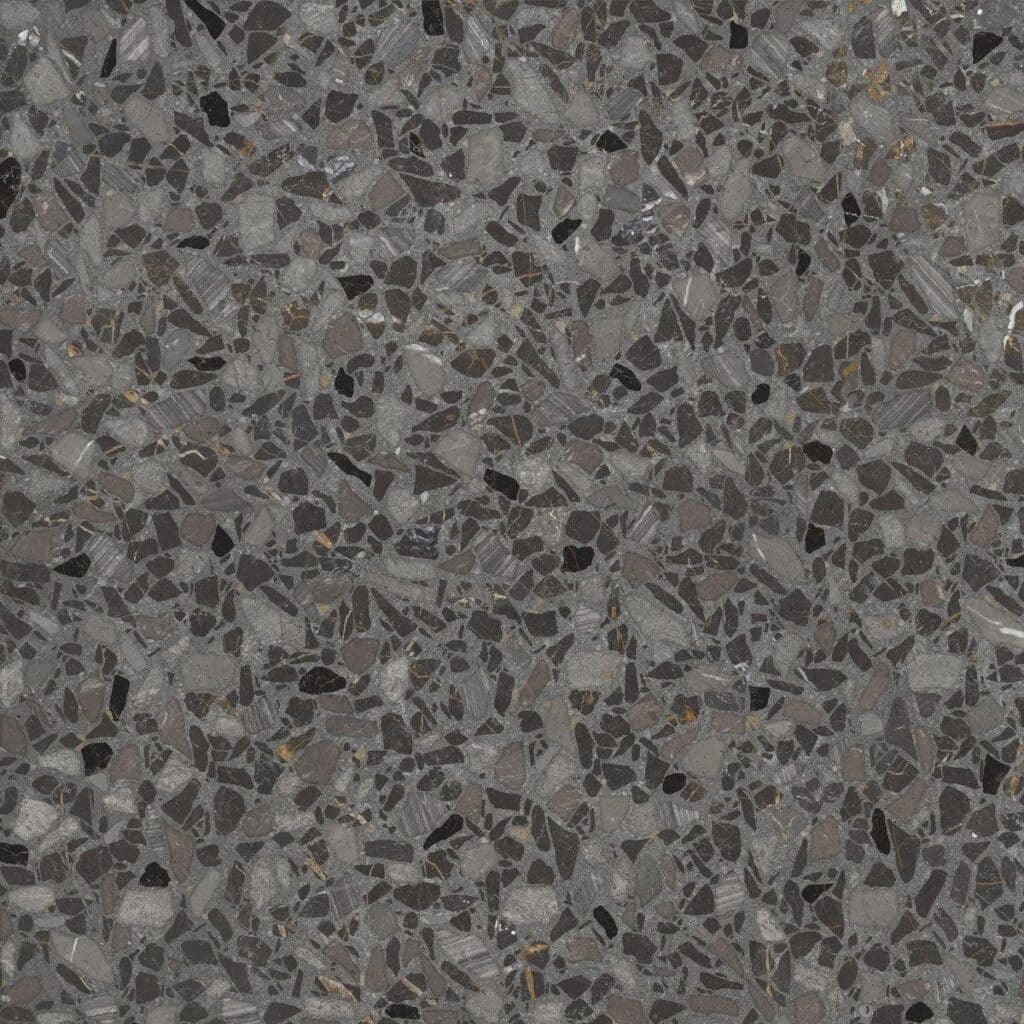
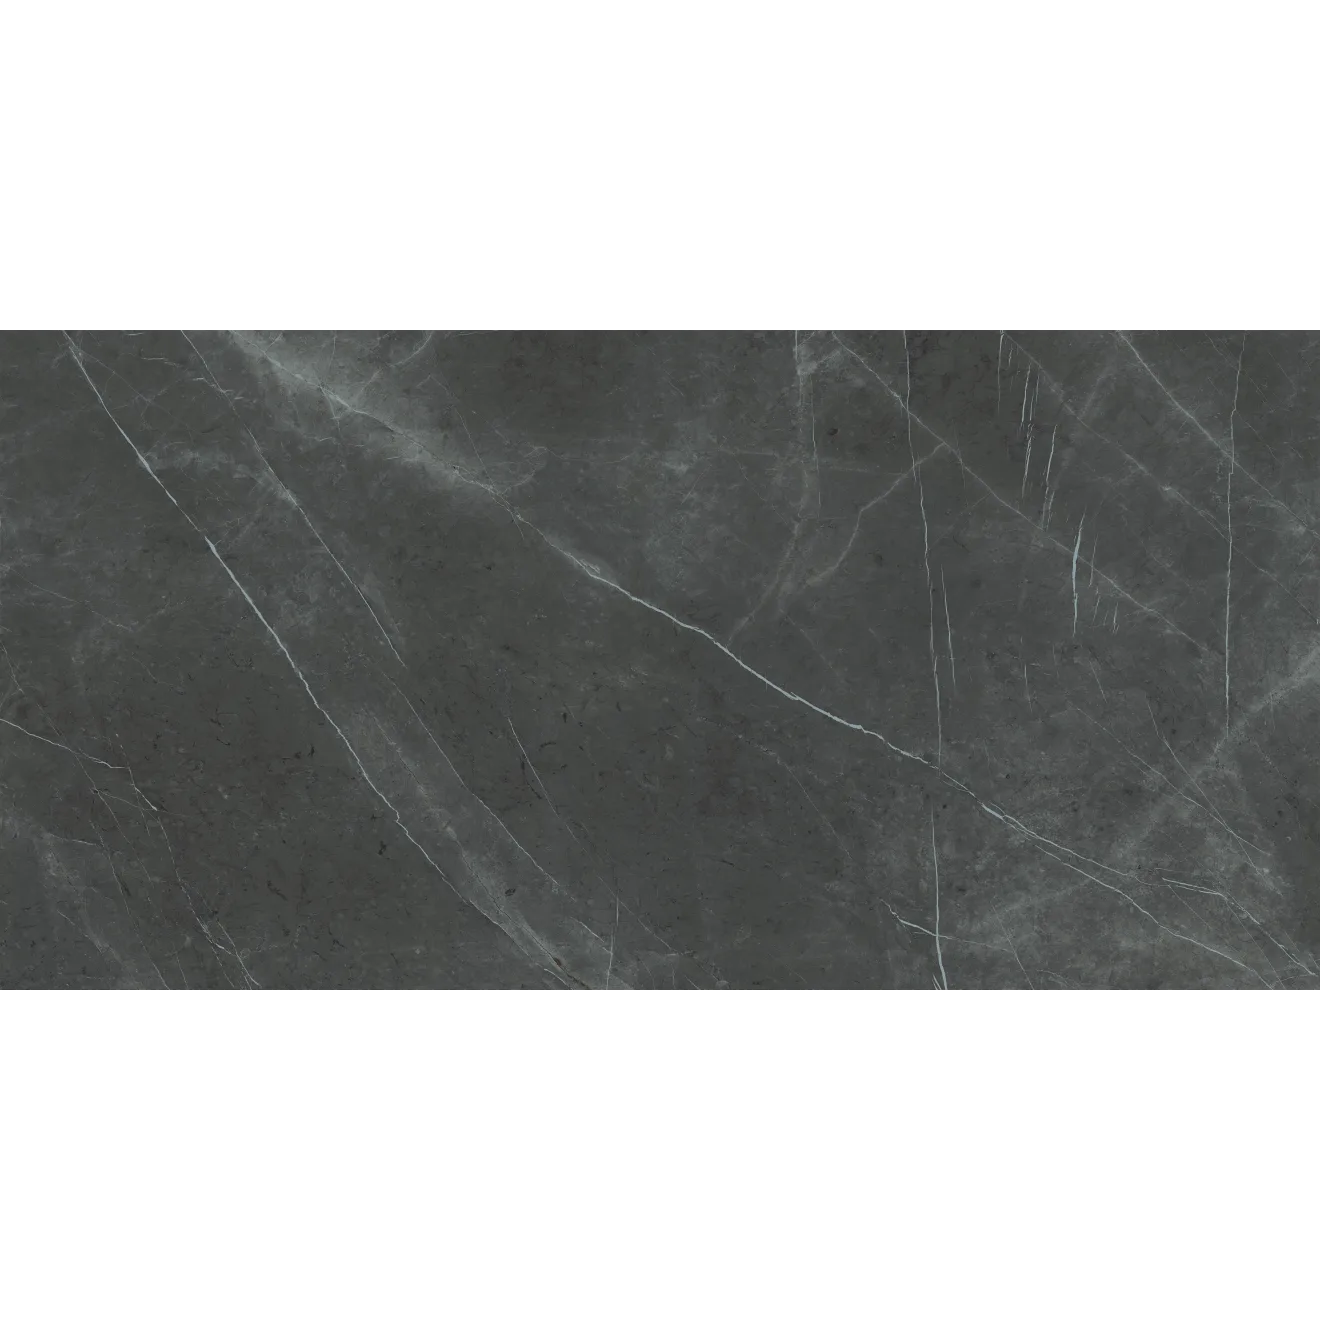
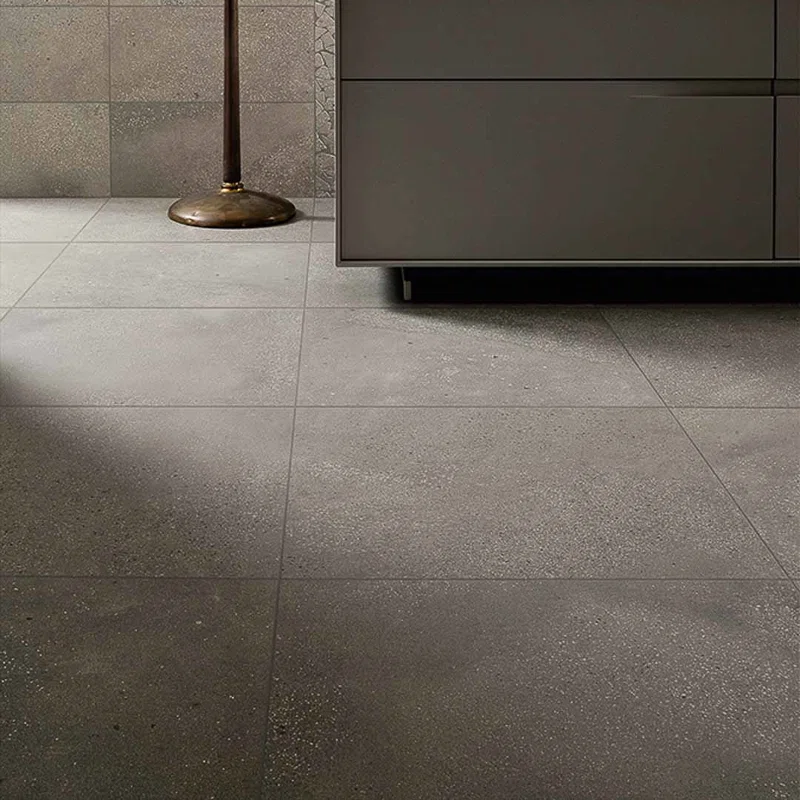
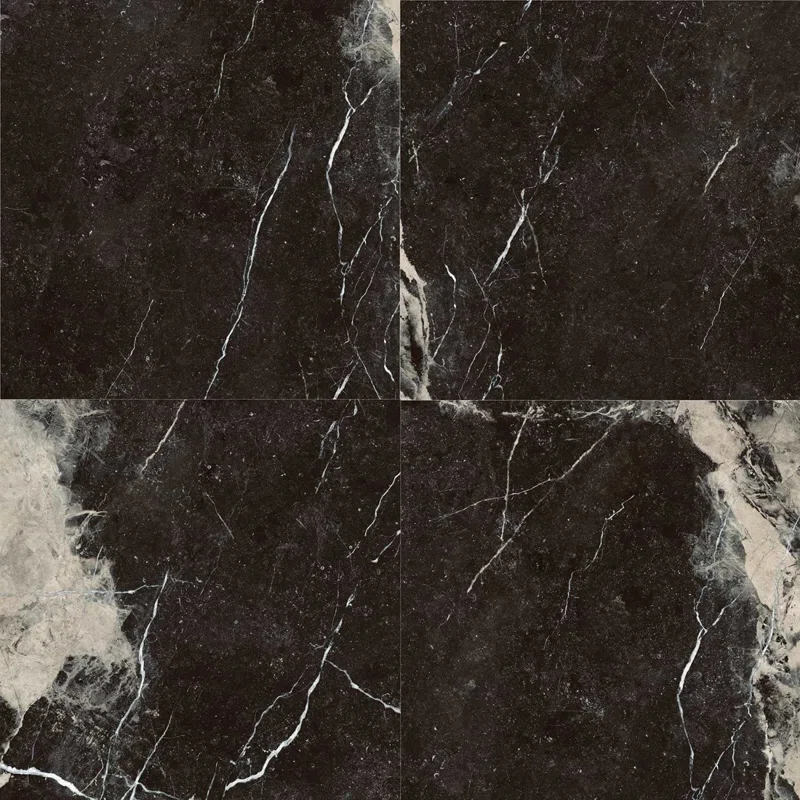
This choice was SO overwhelming because there were so many looks that I liked. In the end I had a handful of looks I was open to but I ended up finding this charcoal grey tile from Shaw Tile at Habitat for Humanity Restore for only .99 per sq/ft and I grabbed ALL of it (obviously someone WAY overbought for a big project or a business was liquidating).
This tile will now be in every bathroom in our home because you have to remember… this remodel was not chosen but forced upon us and so there was and is no budget for this… just wait for good deals and slowly wait to be able to afford things.
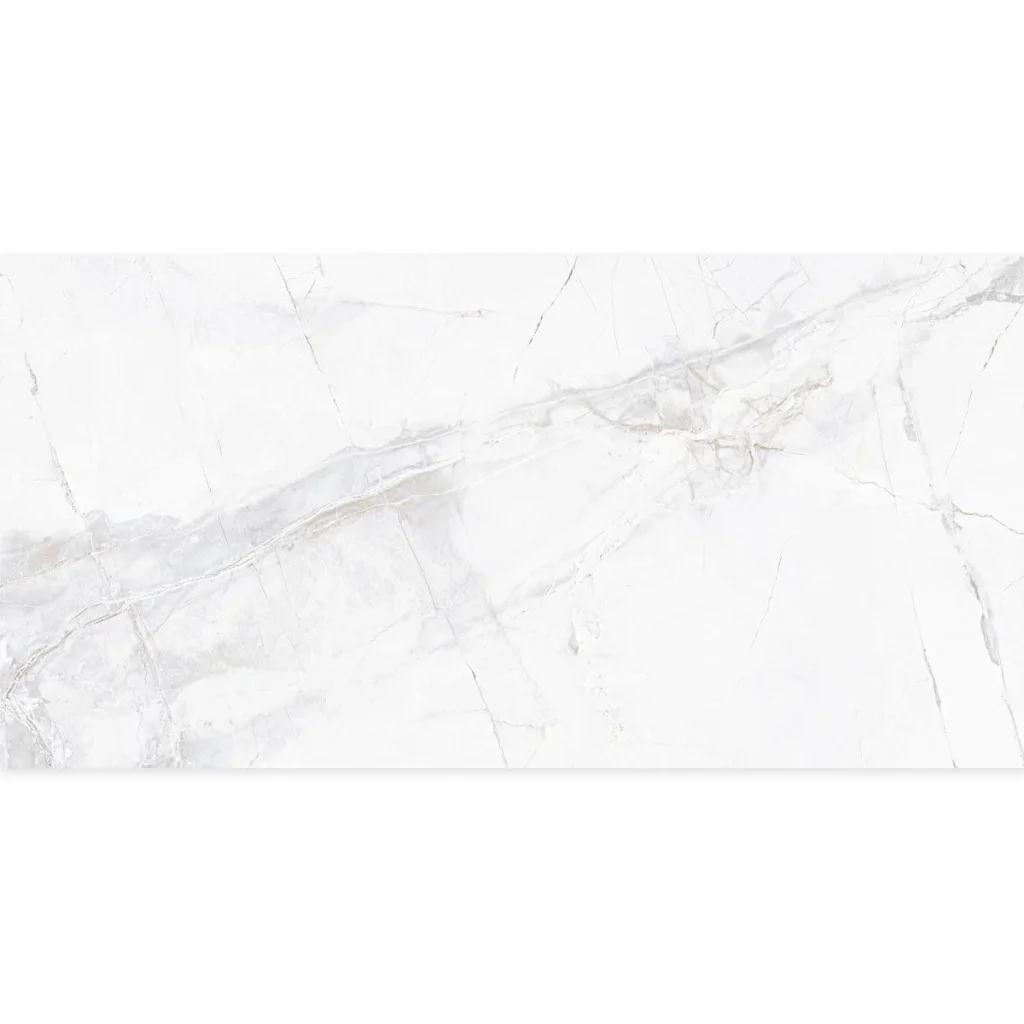
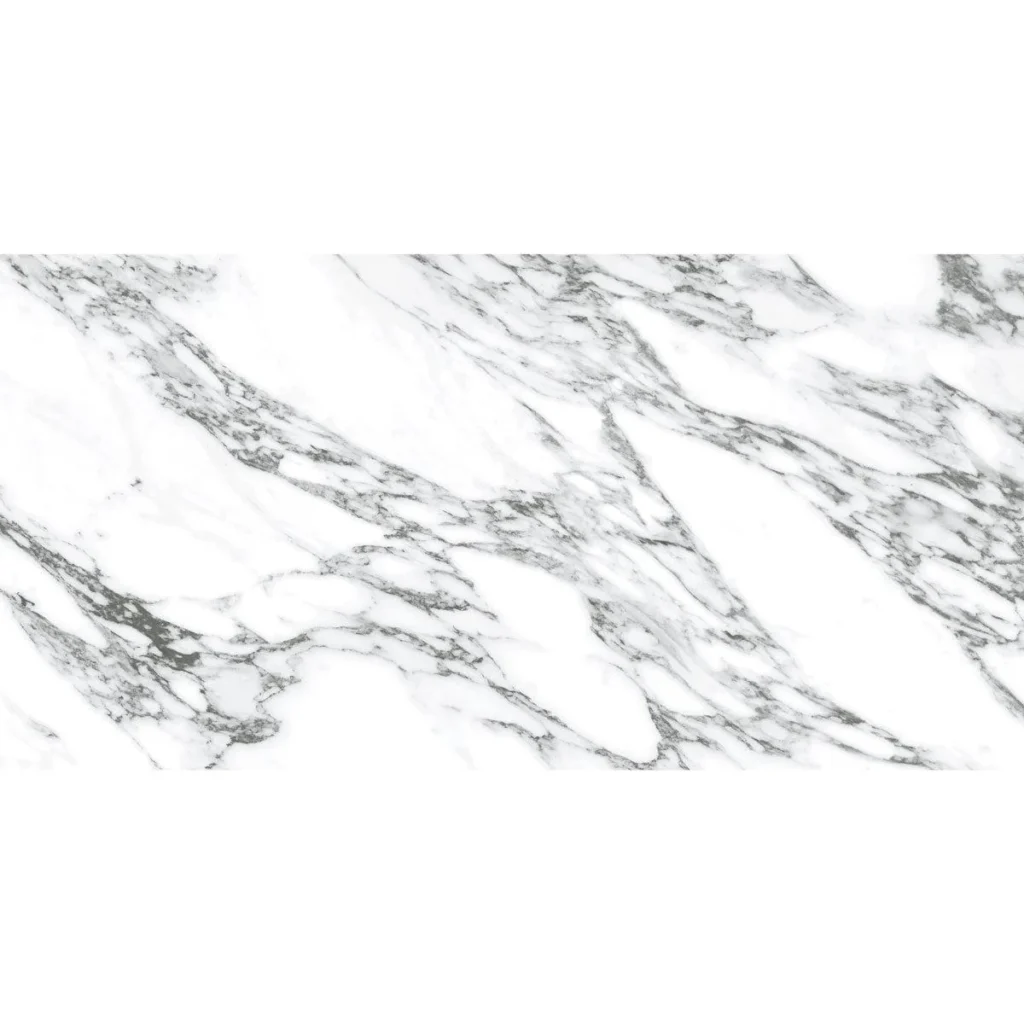
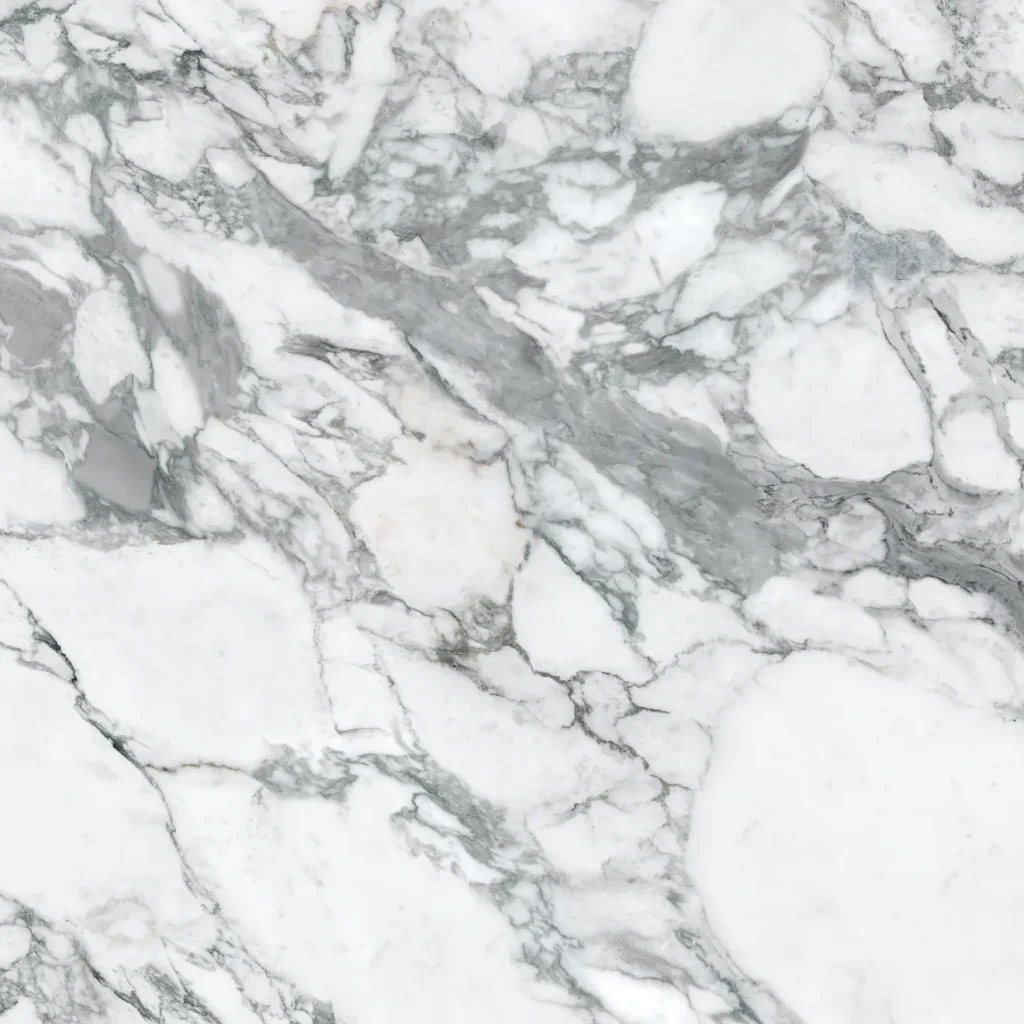
Wall Tile
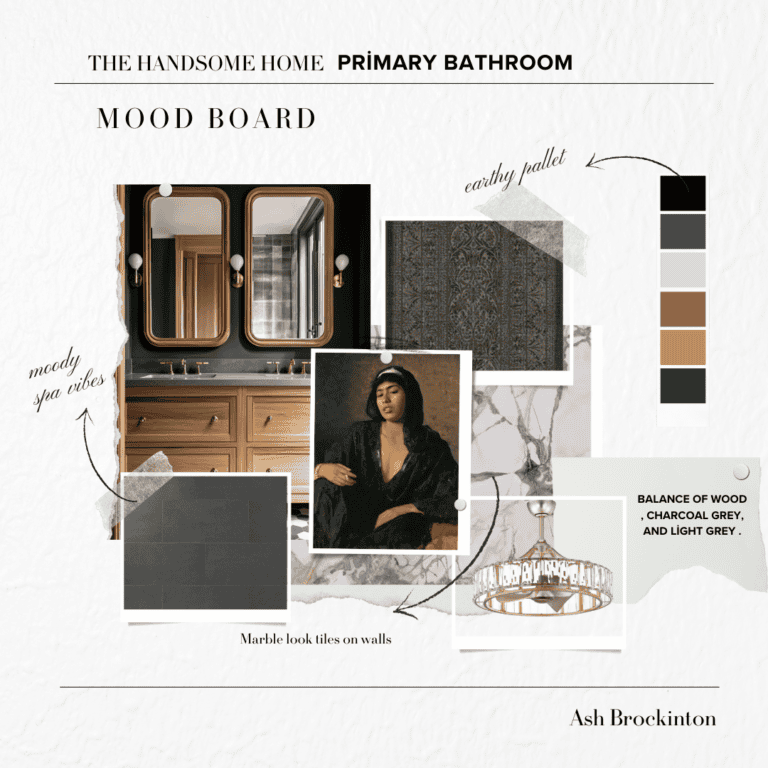
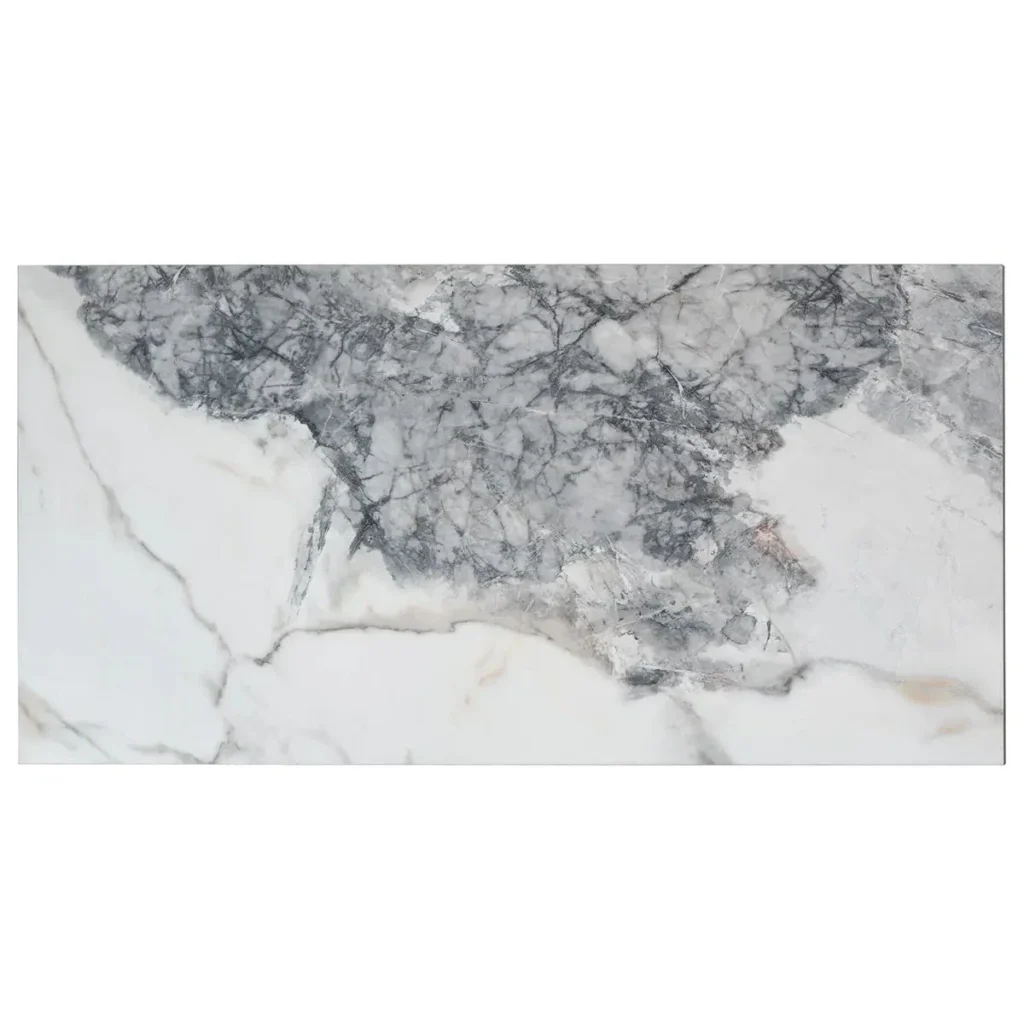
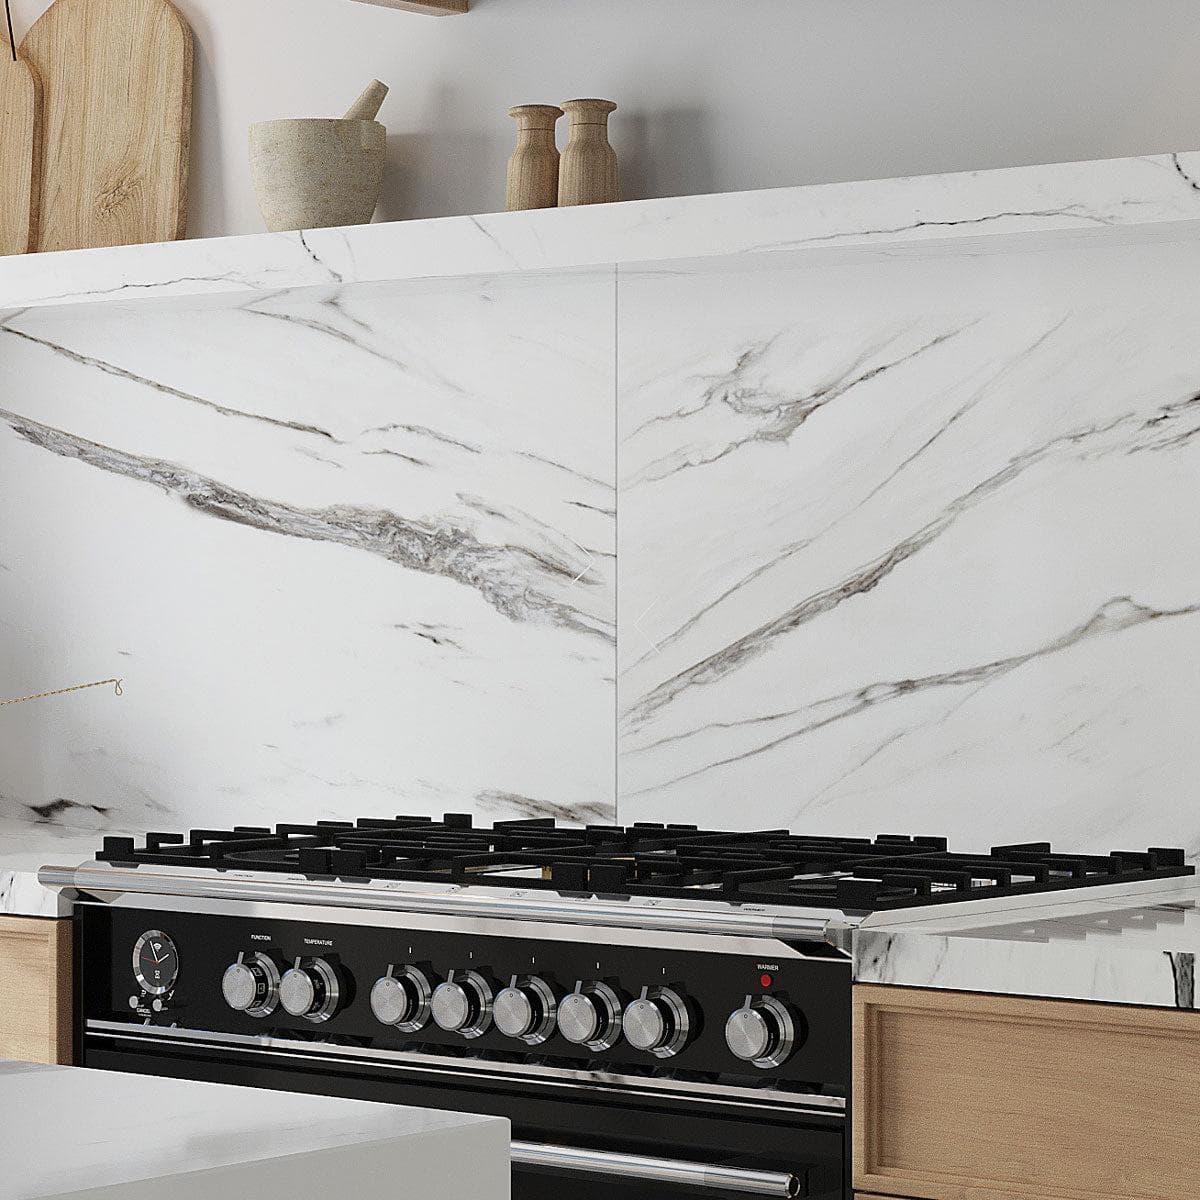
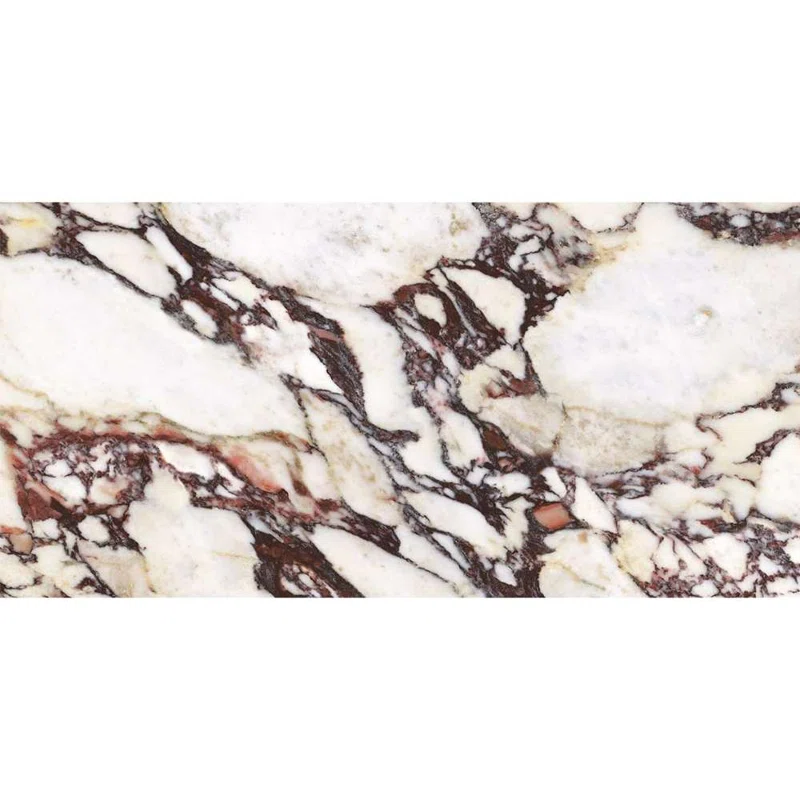
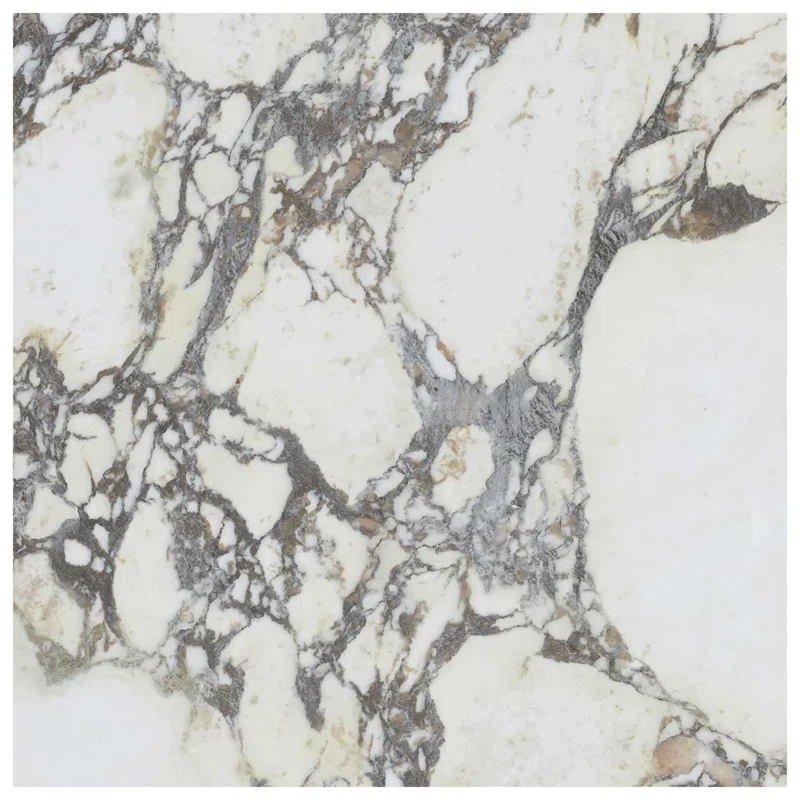
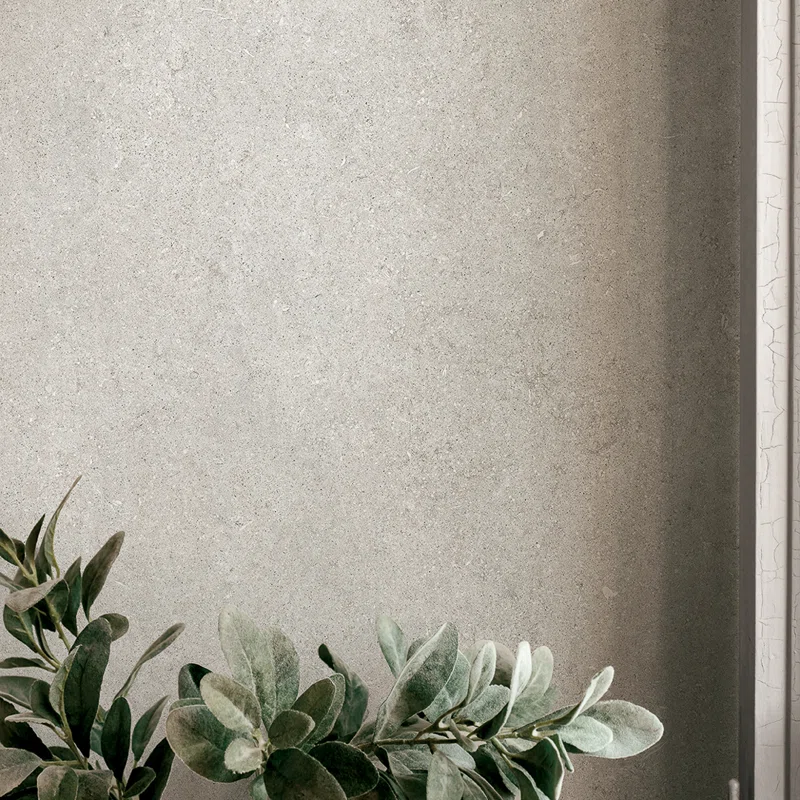
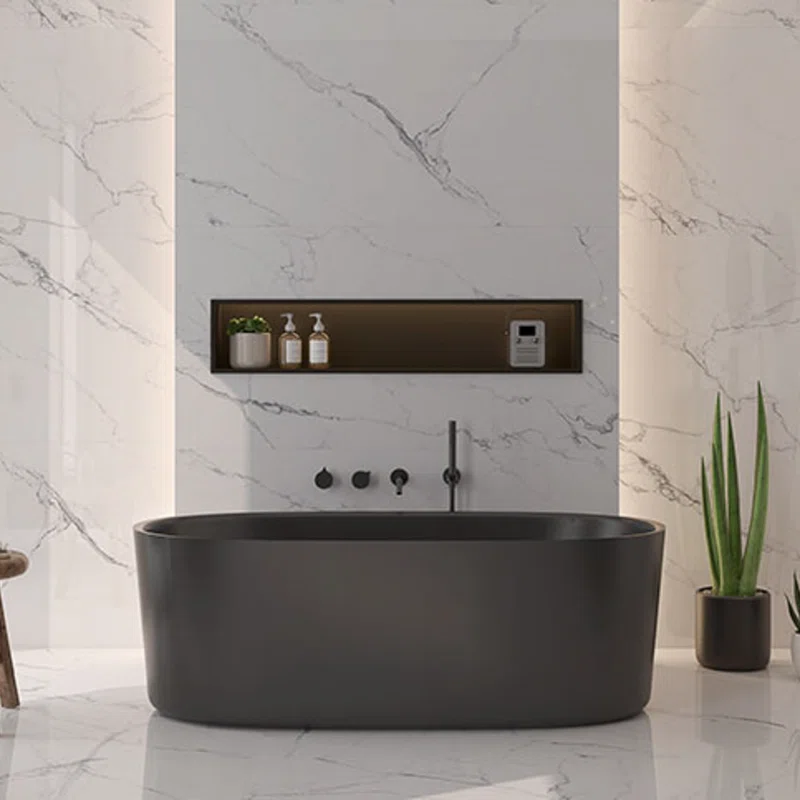
For the walls we choose a giant square porcelain tile called Rialto Grande from Floor and Decor and I love it so much. I loved the drama of marble bathrooms but girl, I can not afford a slab marble bathroom and also- I like the durability and waterproof features of porcelain so this was a win for me. The price fluctuates on this tile but normally it’s super duper affordable sor such an impressive and unique marble look tile. The quality is also A+/
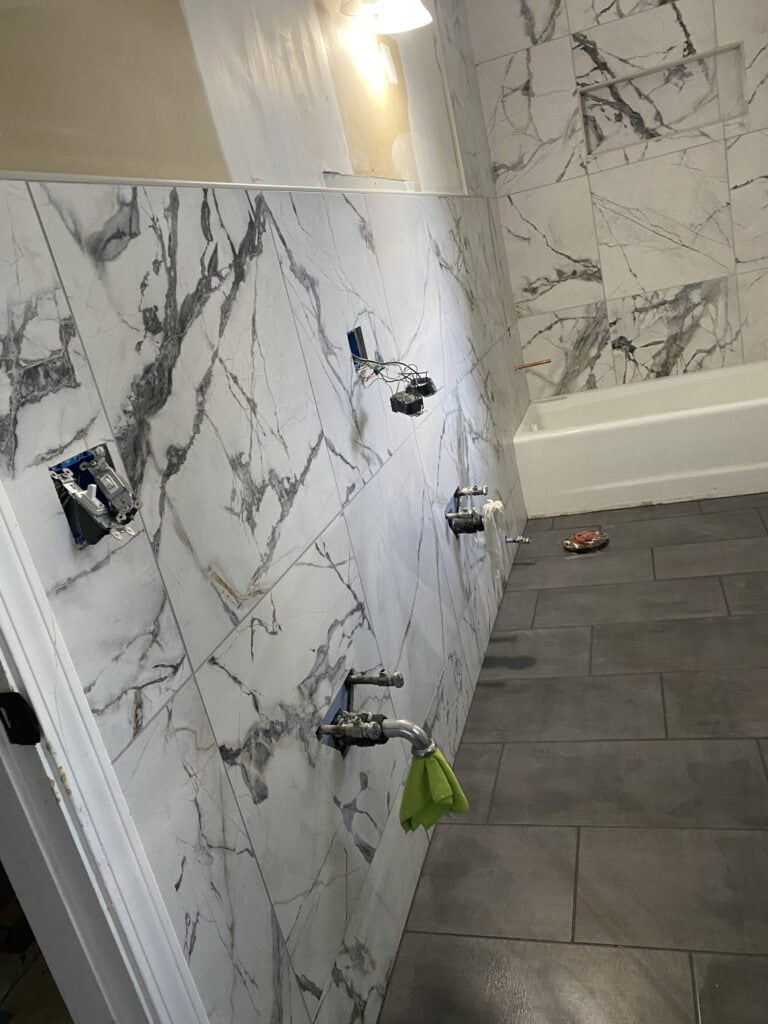
The Big Tiles in A Small Bathroom Reveal
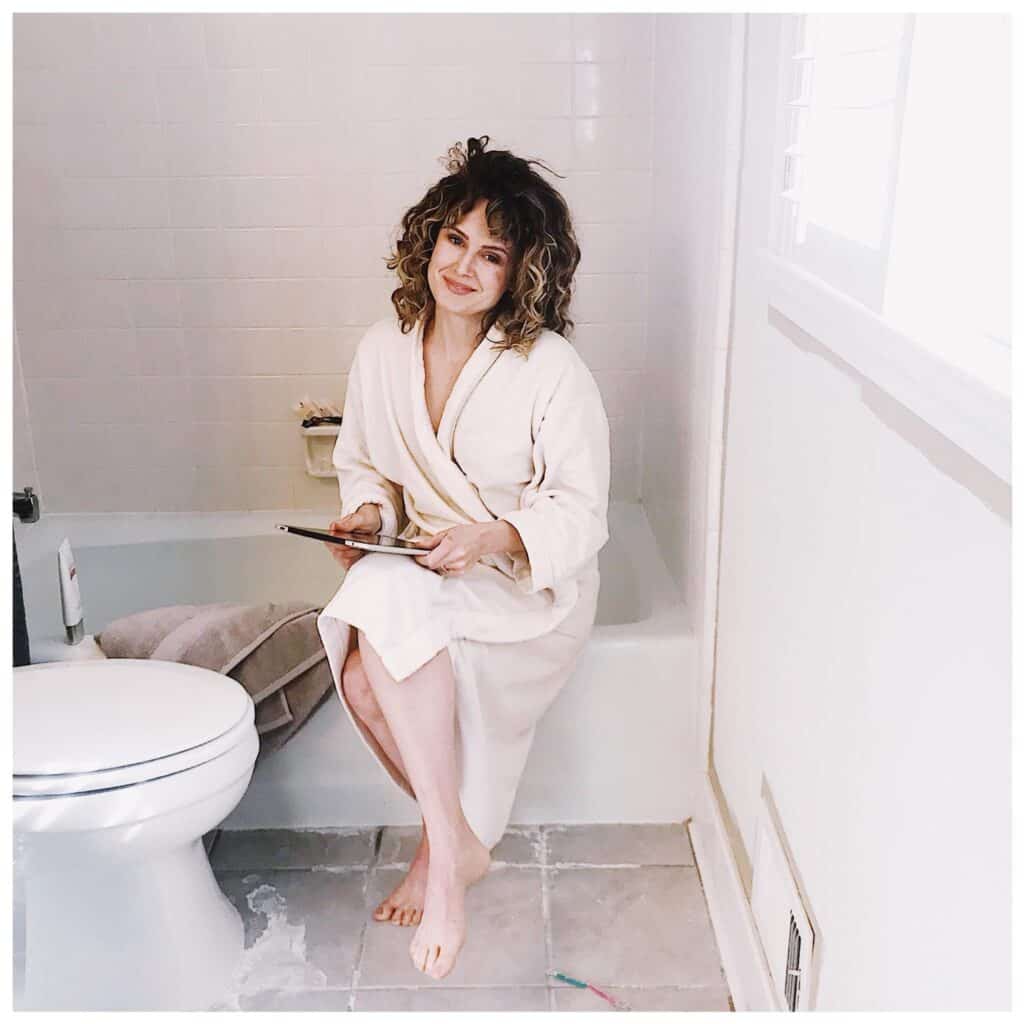
This next pic makes me laugh because it, and all the previous pics in this post represent just how off my game I was during this whole time. I was dealing with so much ptsd from my son being sick and from losing everything that, even though I have been a professional photographer for 20 years, I just couldn’t find it in myself to take pics of the process- only if needed.
Never would I have imagined having our son doing so well and having the space and energy to write a blog to share our journey so… I apologize for all the crappy pics you might see along the way but let’s pretend like it’s intentional and I’m letting you in on my core life status with each pic.
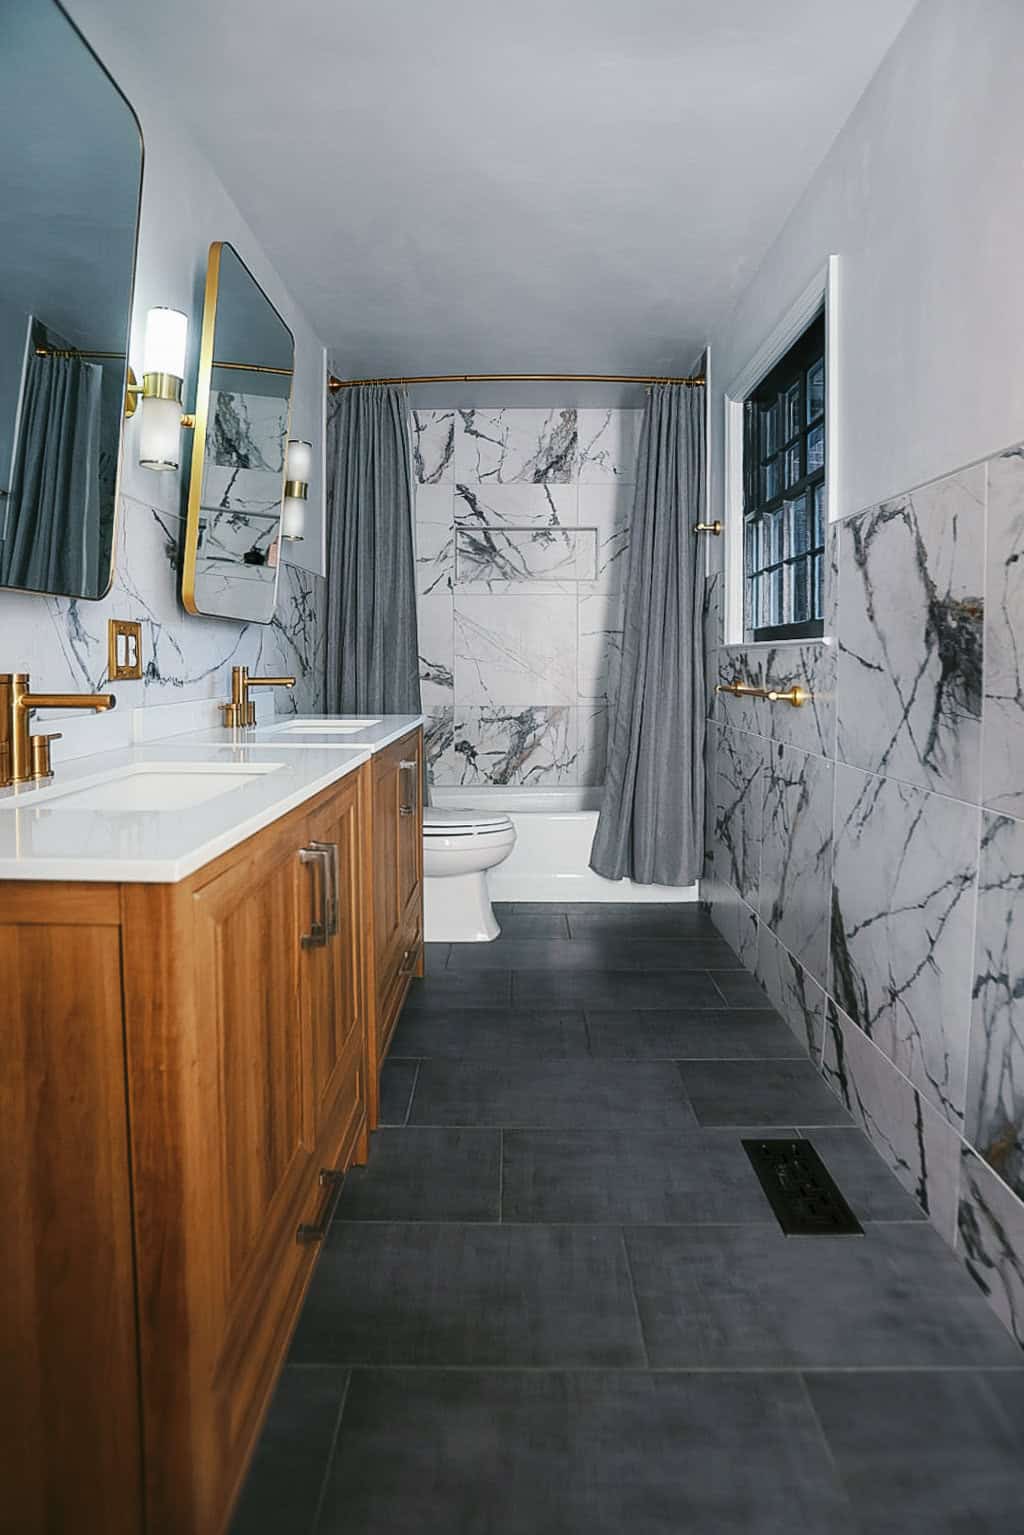

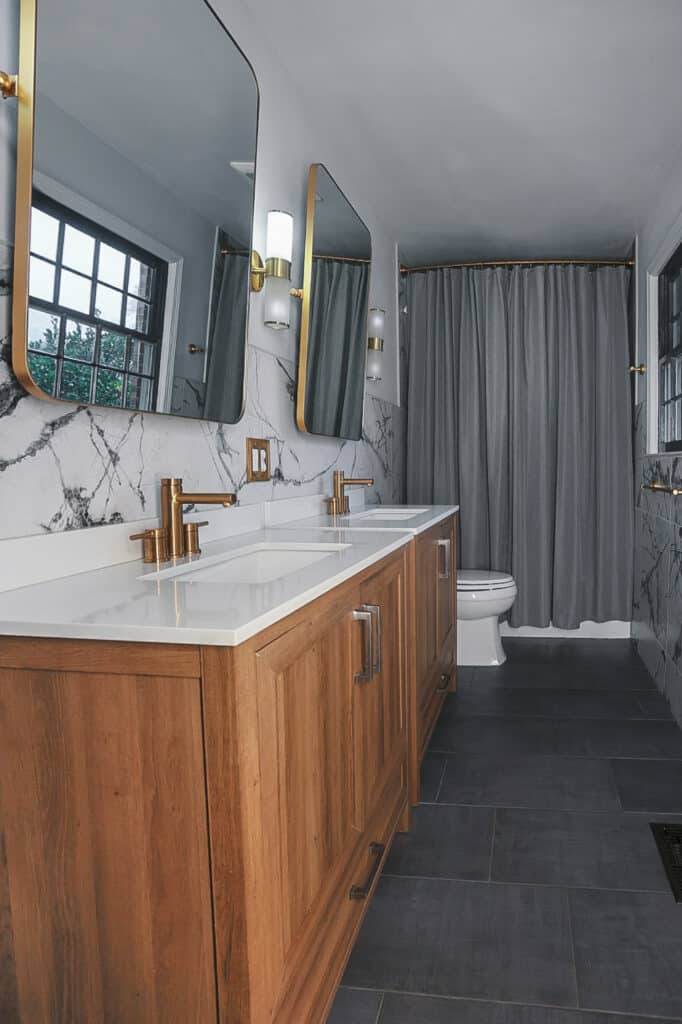
I’m really really proud of what I did with the small budget I had.
The Trick to Using Big Tile for A Small Bathroom
In my opinion, and experience, there are two main tricks to using big tile in a small bathroom:
Match The Grout With The Tile
I think contrasting grout can work with small tile (subway and smaller) but in my opinion, it looks a little crazy when used with large format tile, especially in a small bathroom.
The goal should be to have a uniform look, almost like a solid slab was used throughout the surface. We aren’t going for texture, we are going for cohesiveness and to make the bathroom look bigger… imagine concrete floors and full slab marble walls with no grout lines…
By closely matching the grout to the tile you can get that visually cohesive and expansive look.
My Tips For Picking The Grout Color That Matches Best
From personal experience, here are my tips for picking the grout color that will most closely match your tile:
- Unless your tile person (you might be your tile person- for this remodel we were blessed to be able to hire a pro because a friend gave us the money to do so so we could move back into our home more quickly) is an artist I suggest taking the grout picking into your own hands. If you are not artistic/don’t have an eye for color matching- ask a friend who is an artist or photographer or good with color to help.
- Go to Floor & Decor or Lowes and bring your tile sample with you to hold up to the sample cards of the grout OR, what I did is went to the store and got the brochures that had the sample colors and gut the brochure up so each color was separate and I would hold one up to my tile at a time. Cut off the part of the sample that has white because this pure white will throw your color off. You want grey on grey or ivory on ivory without the white part of the paper (where the color name is written) skewing how the colors look.
- If the colors are close, consider buying the two you think are closest and mixing a little and wiping it on the tile and letting it dry. This will make it clear and you will only “waste” $25 bucks (better than wasting thousands).
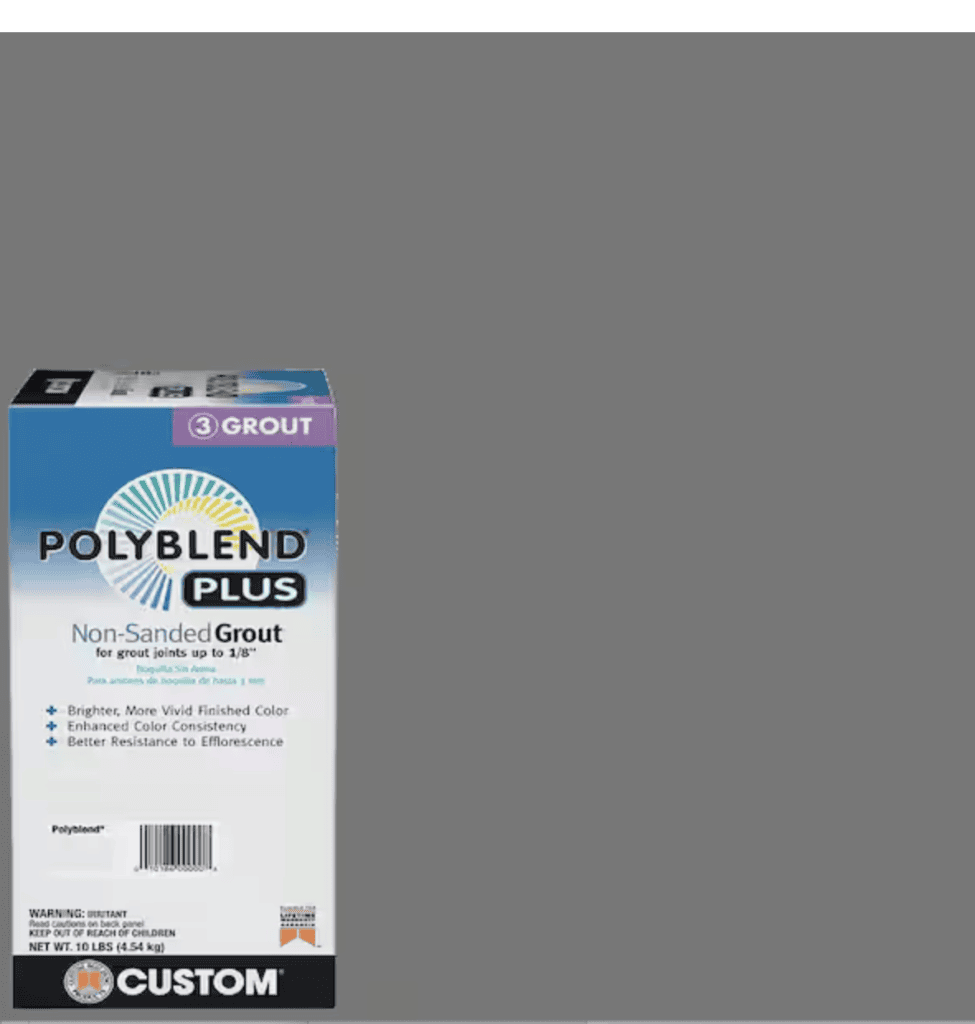
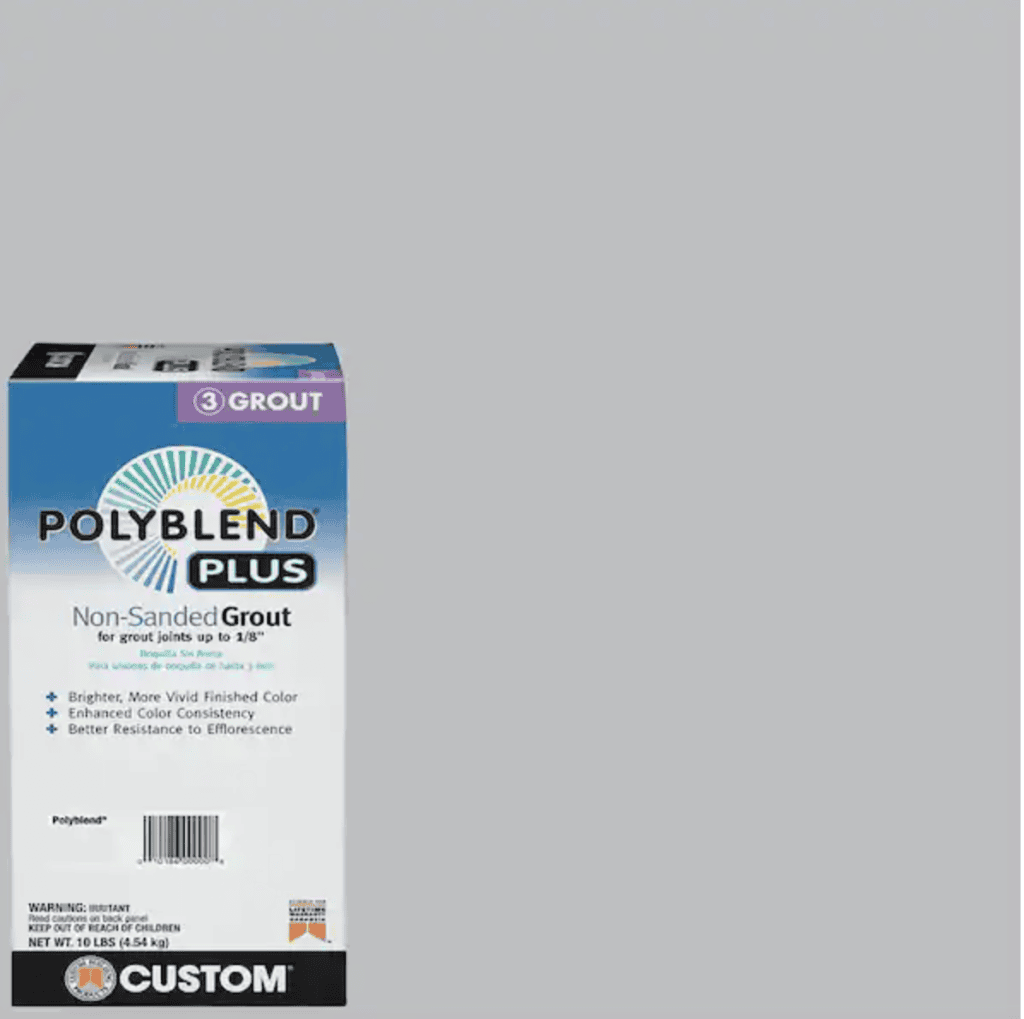
- Choose a good brand. I personally went with the PolyBlend line from Custom Builders and I love how our grout turned out but looking back I would have instead chosen Mapei or Laticrete.
- Remember that you will need to use 100% silicone on changes of plane and that will need to match your grout. I tested out several brands of 100% silicone when I realized our tile guy did the changes of plane wrong and I needed to re-do them and I highly suggest the Mapei 100% silicone for the reason that it is less shiny than the Laticrete silicone (Laticrete IS a little easier to work with but definitely more shiny). For this reason, my ultimate suggestion would be to use Mapei grout and their 100% silicone.
- Use critical thinking an artist’s eye to look at your tile for what it actually is… is the “white” in the marble look tile actually cream or is it actually very light grey? In other words, are the tones cooler or warmer? This should help you with choosing between two grout colors.
- If you have to choose between a slightly darker color and a slightly lighter color remember that the grout will darken over time AND that lighter grout looks dirtier… this makes it hard to choose but I think when it came down to two very very similar colors I went with the one that was just a tiny bit deeper/more muted/darker- not to say it was dark, just not as bright.
One More Thing to Think About Before You Buy Grout and Silicone for Your Big Tiles In a Small Bathroom Remodel
These materials have a shelf life. I have smelled mold in many a bag of grout, seen it in pre-mixed grout, and read a lot of reviews on how awful expired silicone is to use. I know from checking that most of the Big Box stores sell expired materials and for that reason, I suggest you get the materials from Floor and Decor because, in my personal experience, their stock is fresher because I think the pros go there more and the store is just more on top of it.
The Grout Colors I Chose For Our Large Format Tile
Floor Tiles
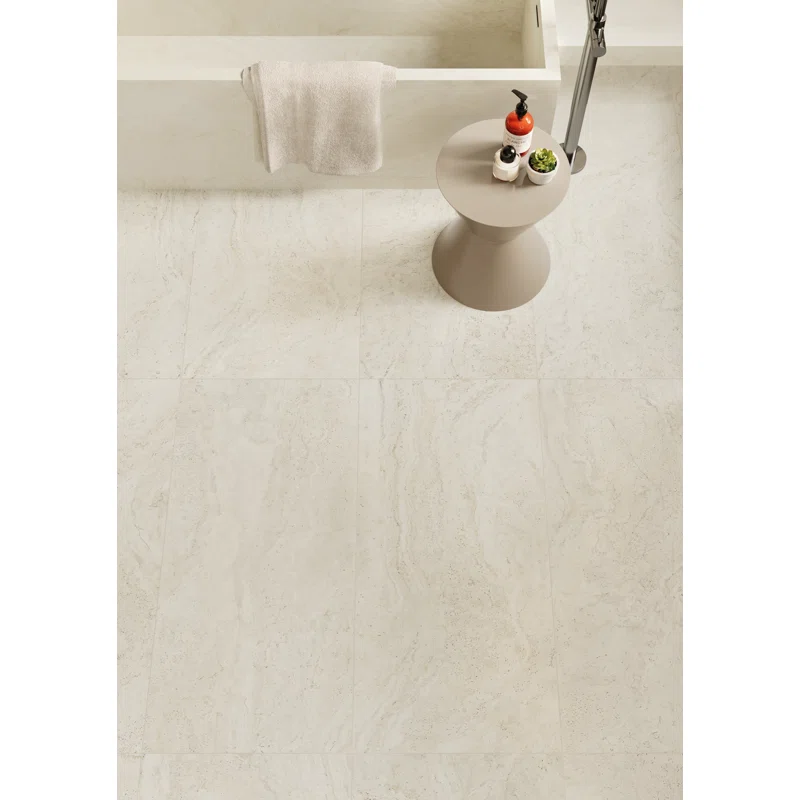
For our charcoal-colored big floor tile I went with the Polyblend color “Pewter”. There’s a color called “Shadow” that’s so close but this is where color theory and noticing if something is warmer or cooler toned in comparison to another color matters because again, I think I nailed it.
Here’s how it came together in real life! The picture looks lighter than the tile does in person but you can see how close the grout match is.
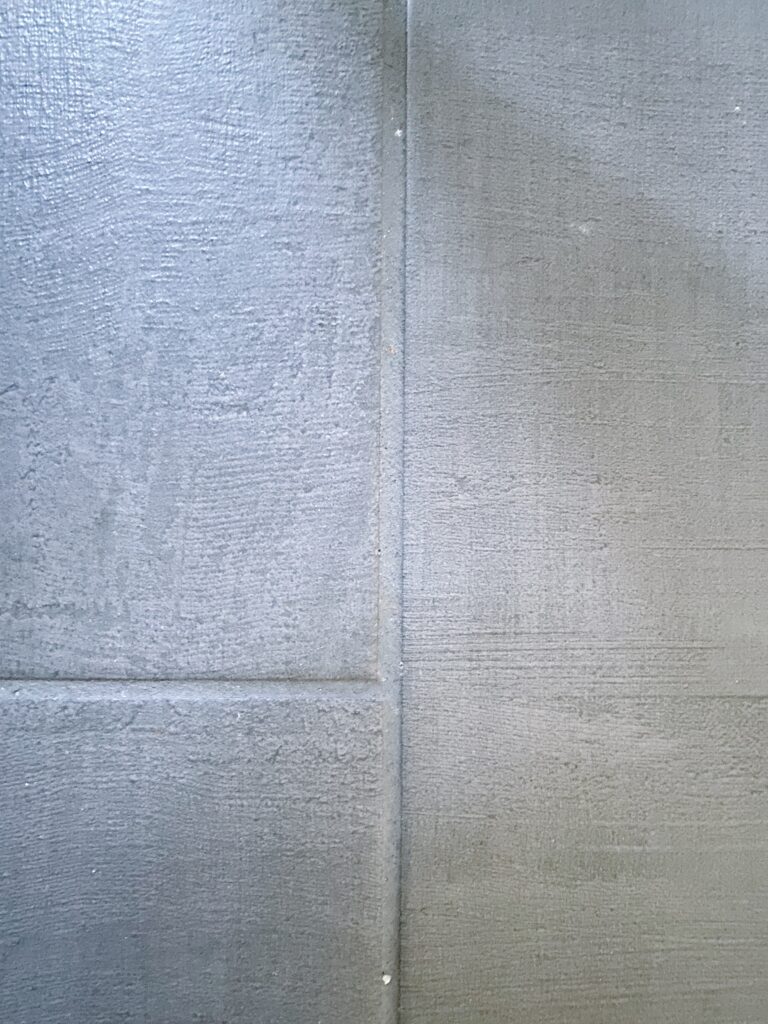
Wall Tile
For our marble look Rialto Grande porcelain tile I went with the Polyblend color “Platinum”. When you look at our marble look tile the background reads “white” but when you look close up it’s actually a light grey and I think the Platinum worked great.
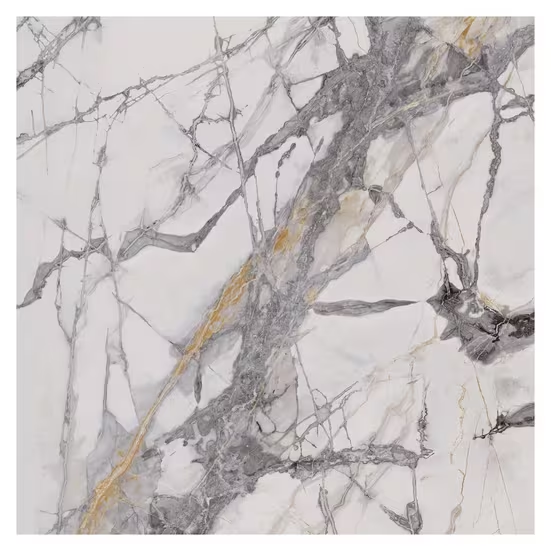
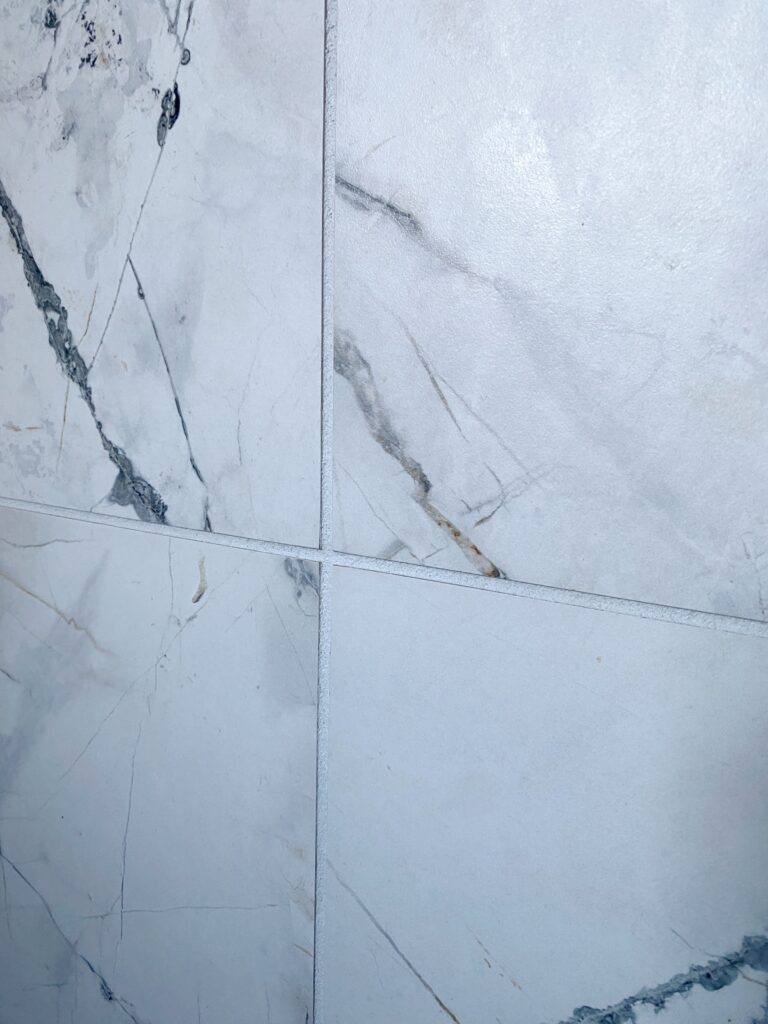
Wall tiles in real life. Would you think from looking at this that the grout is actually grey? Also, can you imagine how much worse it would look if I just let someone choose for me and they chose white because the background reads white?
What NOT to Do:
I do think there are a few big NOs when using big tiles in a small bathroom:
- Don’t use a ground color that contrasts with the tile- as I mentioned earlier, you want it to match.
- Stagger the pattern to make it look like you are using more tiles across than you actually are.
- Make sure more than 2 tiles across are used. I think the reason things work in my skinny bathroom is because you’ve always got at least two full tiles shown but most of the time you can see three. I think just having 1-2 two across would look weird.
- If there is a pattern, lay it out ahead and try to match it well so it looks seamless and as close to one big piece as possible- lower the visual chaos.
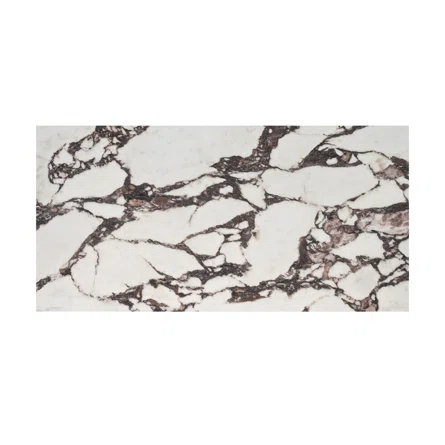
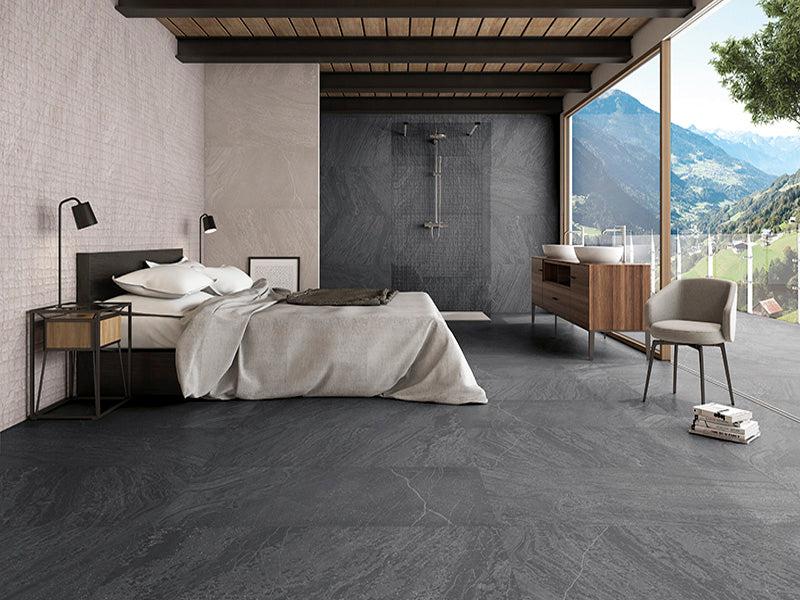
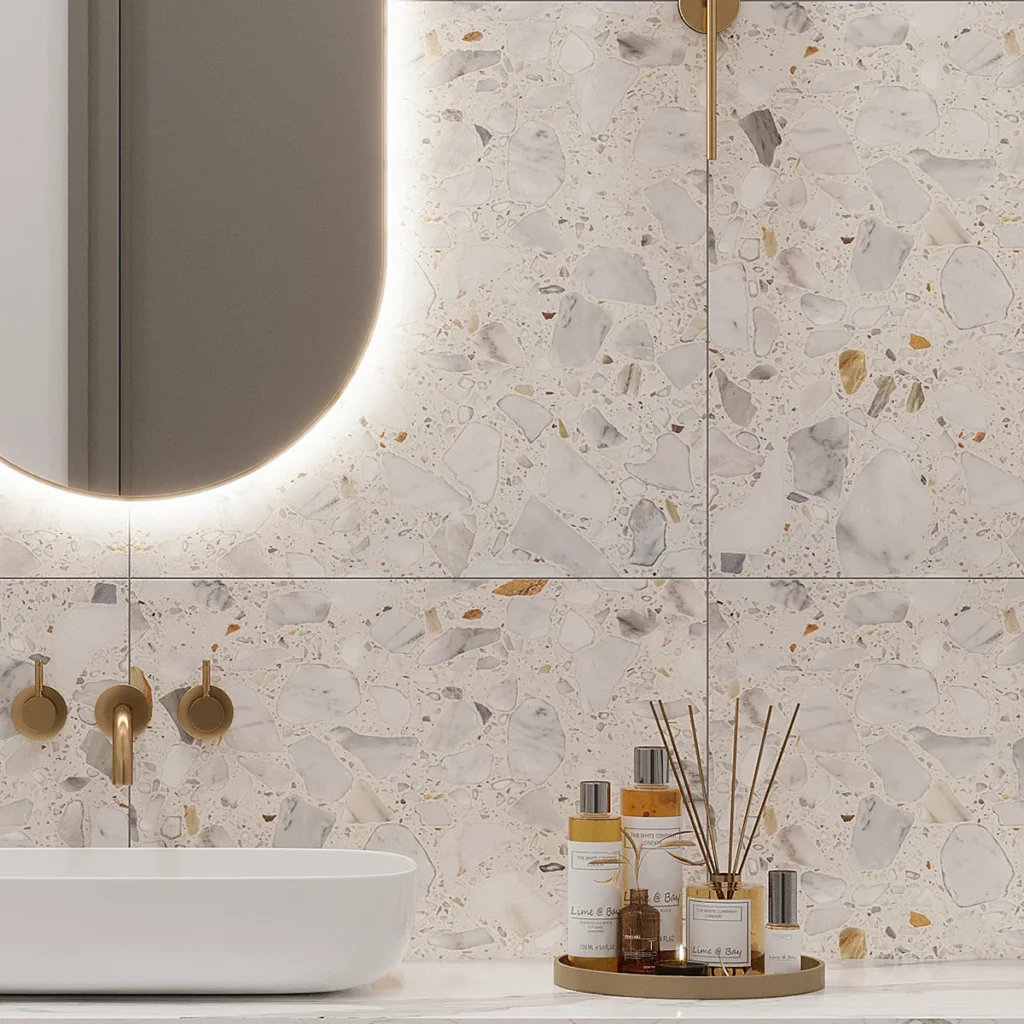
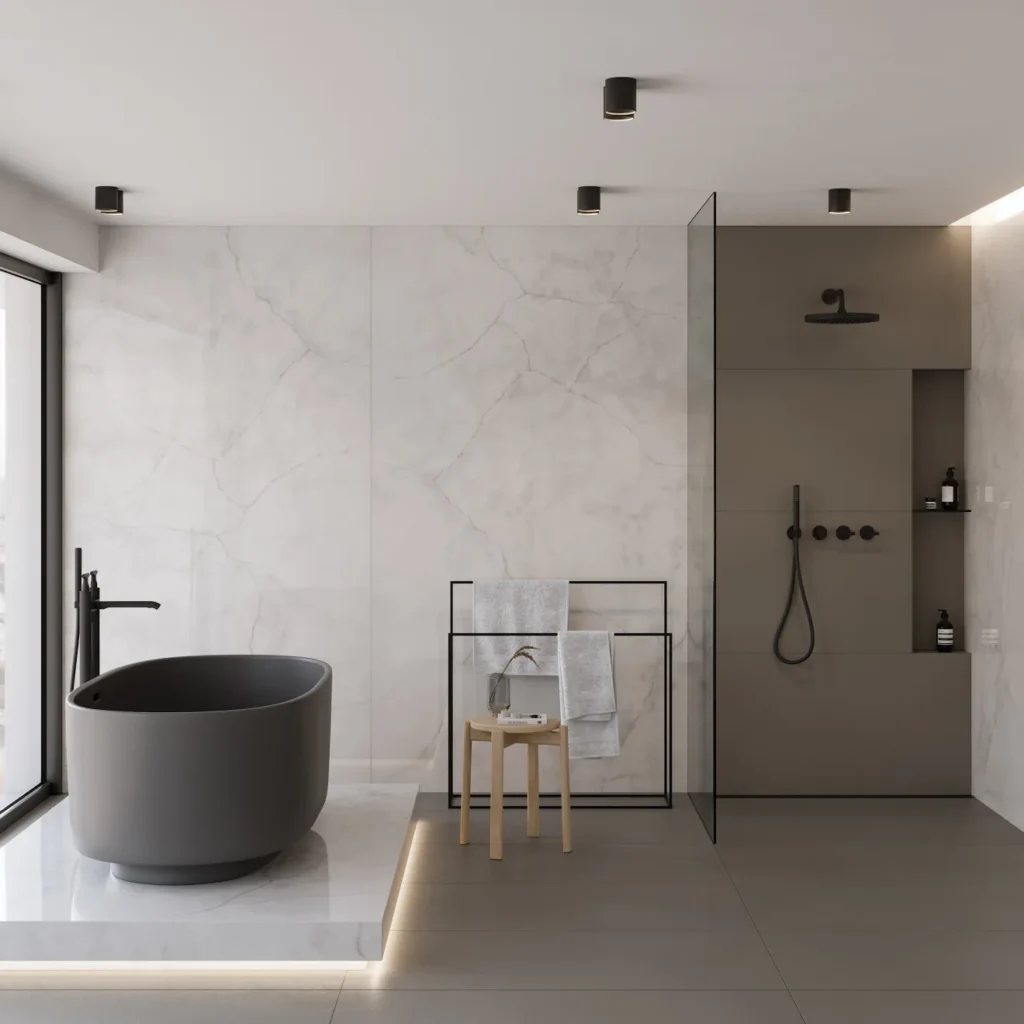
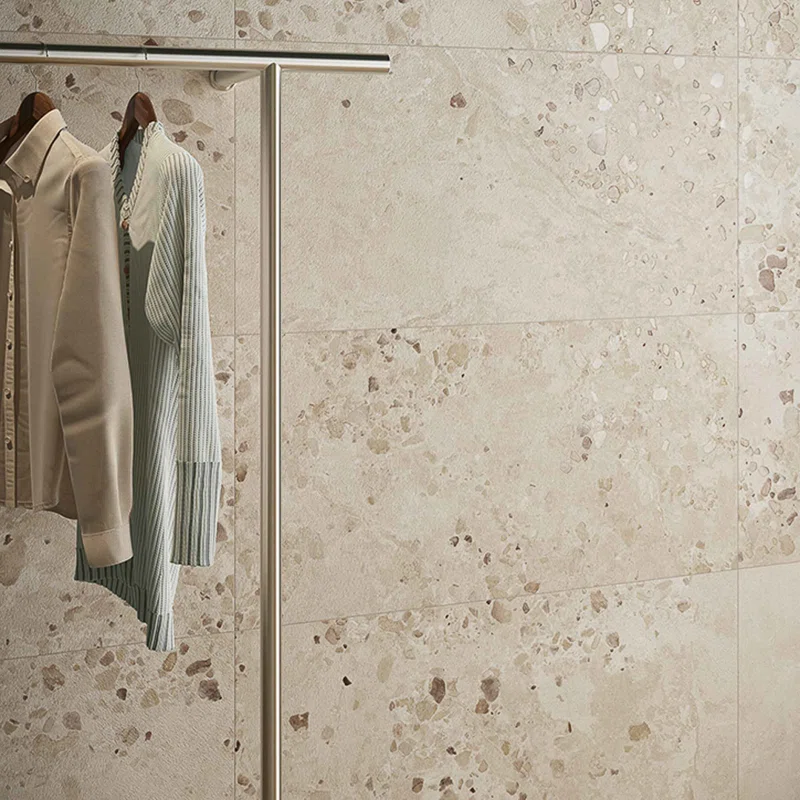
Big Tiles For a Small Bathroom That I Love
Big TILE I LOVE


Conclusion: Don’t Be Afraid To Use Big Tiles In a Small Bathroom
Although others might disagree, I LOVE the big tiles in our small bathroom. I think big tiles allow for fewer grout lines, which allows for less contrast and business. While small tile would have looked good in here too I actually think it would have looked busier and less spa-like than I wanted.
If you are thinking about using big tile in your small bathroom, don’t be afraid of it. Just consider the tips I mentioned and you’ll be gold. What are your thoughts?